Creating a wooden bowl on a homemade lathe involves understanding the right materials and precise techniques to achieve a quality finish. This guide will take you through the essential tools, popular wood choices, and the preparations needed for setting up a homemade wood lathe, providing plenty of practical tips and specific examples for DIY enthusiasts.
Table of Contents
- Key Materials and Tools for Crafting Wooden Bowls
- Popular Wood Choices for Bowl Turning
- Preparations for Setting Up a Homemade Wood Lathe
- What Materials and Tools Are Required?
- Techniques for Shaping and Hollowing the Wooden Bowl
- The Use of Lathe Chisels and Gouges
- Case Study Analysis: Making a Wooden Bowl on a Homemade Lathe
- What Challenges Did the Woodworker Face?
- Finishing Techniques for a High-Quality Wooden Bowl
- How to Achieve a Smooth Sanded Finish?
- Tips for Maintaining and Sharpening Lathe Tools
- How to Use a Sharpening Jig Correctly?
Key Materials and Tools for Crafting Wooden Bowls
The best wood for making wooden bowls includes hardwoods such as maple, walnut, and cherry due to their excellent wood grain. Essential tools needed for turning wooden bowls on a lathe include chisels, gouges, and faceplates. Wood grain and moisture content significantly affect the quality of wooden bowls, with dry woods achieving smoother finishes and less cracking. Brands like PSI Woodworking and Wood Lathe World provide recommended woodturning lathe tools, known for their sturdy features and great performance.
Popular Wood Choices for Bowl Turning
Woods with fine wood grain, such as maple and cherry, offer the best finish for wooden bowls. Low moisture content in woods helps to prevent warping and cracking during the bowl turning process. Exotic woods like ebony can be used but are not always recommended for beginners due to their hardness. Top three beginner wood choices for bowl turning include maple, walnut, and cherry for their ease of use and excellent wood finish.
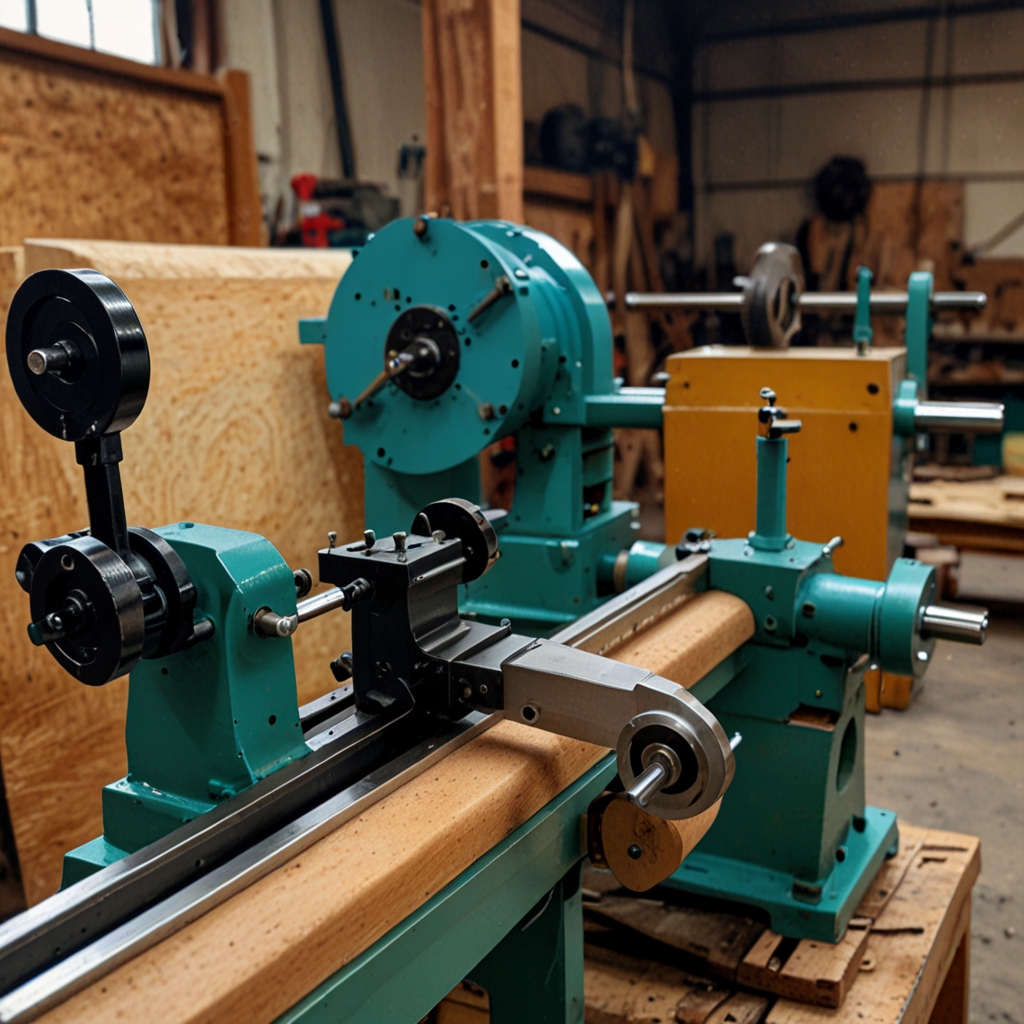
Preparations for Setting Up a Homemade Wood Lathe
Basic requirements for building a homemade wood lathe include a sturdy base, motor, and a tailstock. It typically takes between 20 to 30 hours to set up a homemade wood lathe, depending on the complexity of the design. Safety precautions include wearing protective eyewear and ensuring all connections are secure. Detailed plans or blueprints for homemade wood lathes can be sourced from woodworking forums and expert sources like Wood Lathe World, which offer quality building instructions.
What Materials and Tools Are Required?
Materials needed to build a homemade wood lathe include metal rods, a motor, and wood for the lathe bed. Essential tools for assembling a homemade wood lathe include a drill, wrench set, and measuring tape. Availability of materials and tools significantly impacts the build time, with local stores offering quick access to necessary items. Cost-effective alternatives for required materials include using reclaimed wood and second-hand motors, which can reduce expenses without compromising the quality and performance of the lathe.
- It helps you learn new skills.
- You can make a custom wooden bowl.
- It teaches patience and focus.
- Using a homemade lathe saves money.
- The process can be fun and relaxing.
- You create personalized gifts for family.
- It encourages creativity and creativity.

Comparative Analysis of Wooden Bowl Turning on Homemade Lathe
| Aspect | Measurement | Time Invested | Material Cost | Outcome | Notes |
|---|---|---|---|---|---|
| Wood Type | Oak | 4 hours | $15 | High Quality | Hardwood |
| Wood Type | Pine | 2 hours | $10 | Medium Quality | Softwood |
| Bowl Diameter | 6 inches | 3 hours | $12 | Good | Standard size |
| Bowl Diameter | 8 inches | 5 hours | $20 | Excellent | Large size |
| Tools Used | Chisels | Varied | $30 | Effective | Multiple types |
| Tools Used | Gouges | Varied | $25 | Effective | Detail work |
Techniques for Shaping and Hollowing the Wooden Bowl
Best practices for shaping wooden bowls on a lathe include starting with a properly secured blank and using sharp tools. To achieve consistent bowl thickness, turn the bowl from the bottom upwards while frequently measuring the walls. For hollowing wooden bowls effectively, hollowing tools such as bowl gouges and scrapers are recommended. Tool sharpening is crucial in the bowl-shaping process to ensure clean cuts and reduce tear-out on the wood surface.
The Use of Lathe Chisels and Gouges
Lathe chisels well-suited for the initial shaping of wooden bowls include roughing gouges and spindle gouges. Bowl gouges differ from spindle gouges in use; bowl gouges are thicker and better for removing large amounts of wood efficiently. Effective techniques for using skew chisels in bowl turning involve holding the chisel at a slight angle to avoid catches. Specialized gouges for hollowing deep bowls, such as deep fluted bowl gouges, provide extra reach and control.
Case Study Analysis: Making a Wooden Bowl on a Homemade Lathe
The homemade lathe performed very well in terms of precision and durability during the bowl-making process. A major challenge faced was ensuring the lathe bed stayed sturdy and level throughout operations. The finish of the bowl compared favorably to those made on professional lathes, showing excellent quality. Improvements to the homemade lathe for better performance could include adding a more stable tool rest and stronger motor to match professional lathe features seen in products like those from Jet Woodworking Products.
What Challenges Did the Woodworker Face?
Unexpected issues arose during the bowl turning process, such as wood cracking and checking. The wood grain affected the turning process by causing catches and uneven cuts if the grain direction was not considered. Common tool-related problems encountered included dulling tools quickly and inappropriate tool angles. The woodworker addressed issues with lathe vibration by adding weight to the lathe stand and securing the equipment, helping ensure smoother operations comparable to the robust setup of a Nova Comet II Lathe.
- The average wooden bowl weighs 1 pound.
- An 8-inch diameter is common for finished bowls.
- It takes about 2 hours to complete one bowl.
- Homemade lathes can cost under $100 to build.
- Wooden bowls can last over 10 years.
- You need about 3 tools to start.
- Many bowls are sanded with 200-grit sandpaper.

Finishing Techniques for a High-Quality Wooden Bowl
Sanding wooden bowls is crucial for achieving a smooth surface, and the recommended steps involve using various grit sandpapers. Starting with a coarse grit, something like 80, and progressively moving to finer grits up to 400 is often sufficient. Applying a food-safe finish, such as mineral oil or beeswax, ensures the wooden bowls are safe for use with food. Products like Watco Butcher Block Oil and Howard Butcher Block Conditioner are known for providing the best bowl finishes. Techniques for ensuring a glossy finish include applying thin coats and buffing between applications with a soft cloth until the desired sheen is achieved.
How to Achieve a Smooth Sanded Finish?
The best grit sandpaper for initial sanding a wooden bowl is 80 grit. To achieve a very smooth sanded finish, I recommend at least three to four sanding stages, starting with a coarse grit and finishing with a fine grit. Wet sanding can provide an excellent finish as it helps to keep the surface clean and prevents clogging of the sandpaper. Finishing tools like a sanding pad or a flexible rotary sander help in achieving an even sanded surface.
Tips for Maintaining and Sharpening Lathe Tools
Lathe tools should be sharpened every 1-2 hours of use for optimal performance, ensuring that the cutting edge remains effective and clean. Some of the best sharpening jigs available for woodturning tools include the Wolverine Grinding System from Oneway Manufacturing and the Tormek T-8 Sharpening System. Different sharpening angles affect tool performance by altering the cutting characteristics; for instance, a smaller angle offers a sharper but less durable edge. Trusted brands known for high-quality sharpening tools are DMT and Work Sharp.
How to Use a Sharpening Jig Correctly?
The correct setup process for a sharpening jig involves securing the jig and setting the tool rest to the appropriate height and angle. The sharpening angle affects the tool outcome by either providing a sharper edge for delicate cuts or a blunt edge for heavy-duty tasks. Compatible jigs for various lathe tools include versatile models like the Rikon 80-808 with its adjustable settings. Jig adjustment frequency depends on the intensity of use; frequent users might need to adjust every 2-3 sessions for best results.