Creating a mini wood lathe from scratch is a fulfilling and challenging DIY project that showcases both creativity and technical skill. Building a mini wood lathe involves precise planning, careful selection of materials, and the use of essential tools to ensure a durable and functional end product. This article will guide through the steps and best practices for constructing a mini wood lathe, offering insights from experts and examples of what works best. Interested in a success story for this hands-on project? Keep reading for practical advice that can help achieve impressive results.
Table of Contents
- Designing Your Mini Wood Lathe
- Choosing the Right Materials for Durability
- Essential Tools and Equipment
- How to Calculate Tool Costs
- Building the Lathe: Step-by-Step Guide
- What Is the Ideal Construction Timeline?
- Tools for Lathe Operations and Maintenance
- Turning Tools: Selection and Usage
- Overcoming Challenges in Building a Mini Wood Lathe
- What Are Common Troubleshooting Techniques?
Designing Your Mini Wood Lathe
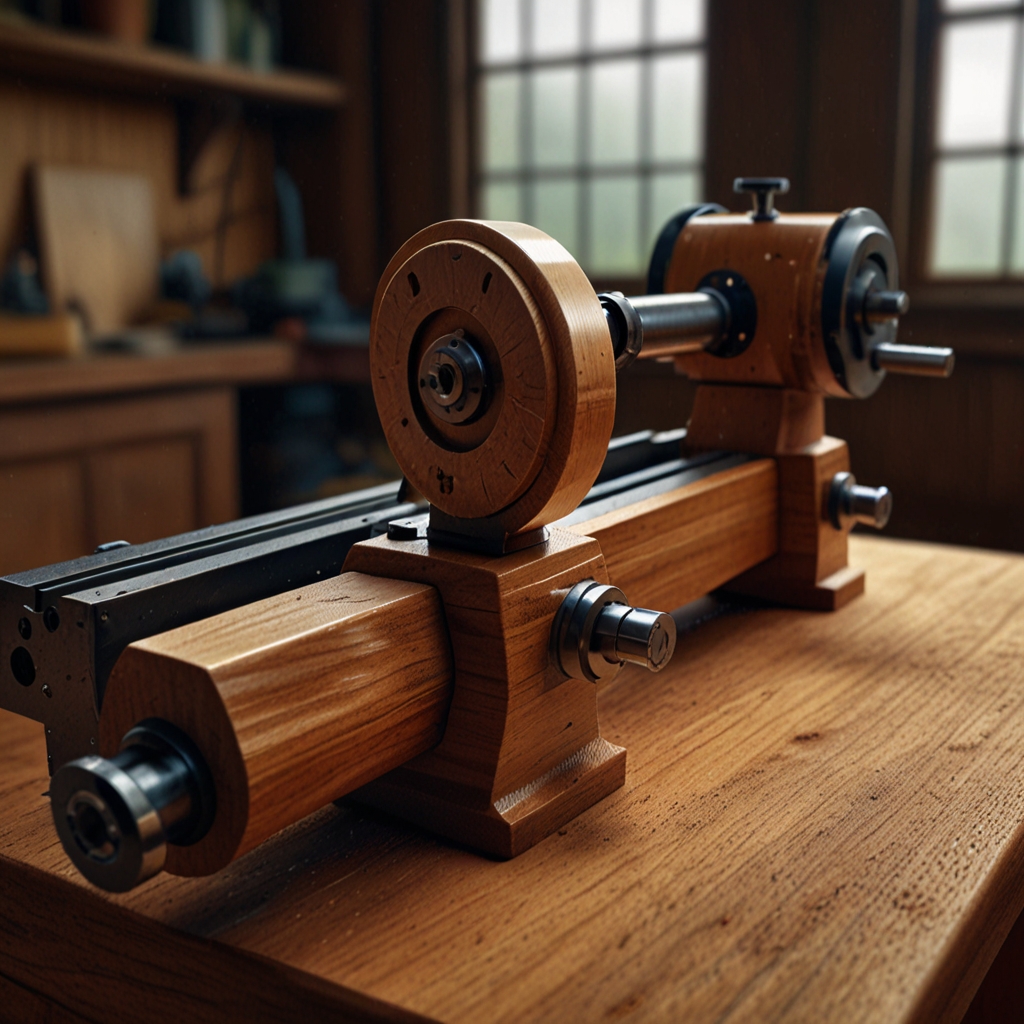
Designing a mini wood lathe requires understanding the essential components such as the headstock, tailstock, bed, and tool rest, all of which are critical for stability and functionality. Drafting homemade lathe plans should start with a detailed sketch, specifying each part’s dimensions and how they fit together. Durable materials like high-quality steel or hardwood are best for ensuring longevity. Common design phase mistakes include overlooking component alignment and choosing weak materials, which compromise the lathe’s sturdiness.
Choosing the Right Materials for Durability
Types of wood suitable for a mini lathe include hardwoods like maple and oak, while steel or cast iron are excellent metal choices. The choice of material significantly impacts the lathe’s performance, with harder materials offering better stability. Eco-friendly options include reclaimed wood, which combines sustainability with quality. Cost differences are evident; for example, hardwood is pricier than softwood, and steel is more expensive than aluminum, but the investment in durable materials pays off in performance.
Essential Tools and Equipment
Basic tools needed to create a mini wood lathe include a hand saw, chisels, and a power drill. Specialized lathe tools, such as a lathe chisel set and a faceplate, are also required. Average costs for these tools range from $100 to $300. Quality tool sources such as Harbor Freight and Wood Lathe World offer a variety of lathe building tools for home improvement enthusiasts.
How to Calculate Tool Costs
The average cost of basic hand tools for this project is around $150. Cost-saving tips include purchasing second-hand tools, which can be found at estate sales or online marketplaces. High-quality tools can be more expensive but will ensure better performance and longevity. Renting tools is a viable option, with rental costs typically ranging between $10 to $30 per day from stores like Home Depot or Lowe’s.
- It saves money.
- You learn new skills.
- It offers a sense of accomplishment.
- You can customize it to your needs.
- It can be a fun project.
- It reduces waste.
- It can be a great educational activity.
Comparison of Key Aspects in Creating a Mini Wood Lathe
| Aspect | Details | Measurements | Duration | Tools Used | Cost |
|---|---|---|---|---|---|
| Initial Design | Sketches | 5 sketches | 2 days | Pencil, Paper | $0 |
| Materials | Wood, Metal | Approx. 10 kg | 1 day | Saw, Hammer | $50 |
| Turning Mechanism | Motor | 1/2 HP | 3 days | Drill, Wrench | $30 |
| Lathe Bed | Wood base | 30 inches | 2 days | Chisel, Plane | $15 |
| Chuck | Metal jaws | 3 inches diam. | 1 day | Lathe, Die | $25 |
| Testing | Adjustments | 2 hours | 1 day | Screwdriver | $0 |
Building the Lathe: Step-by-Step Guide
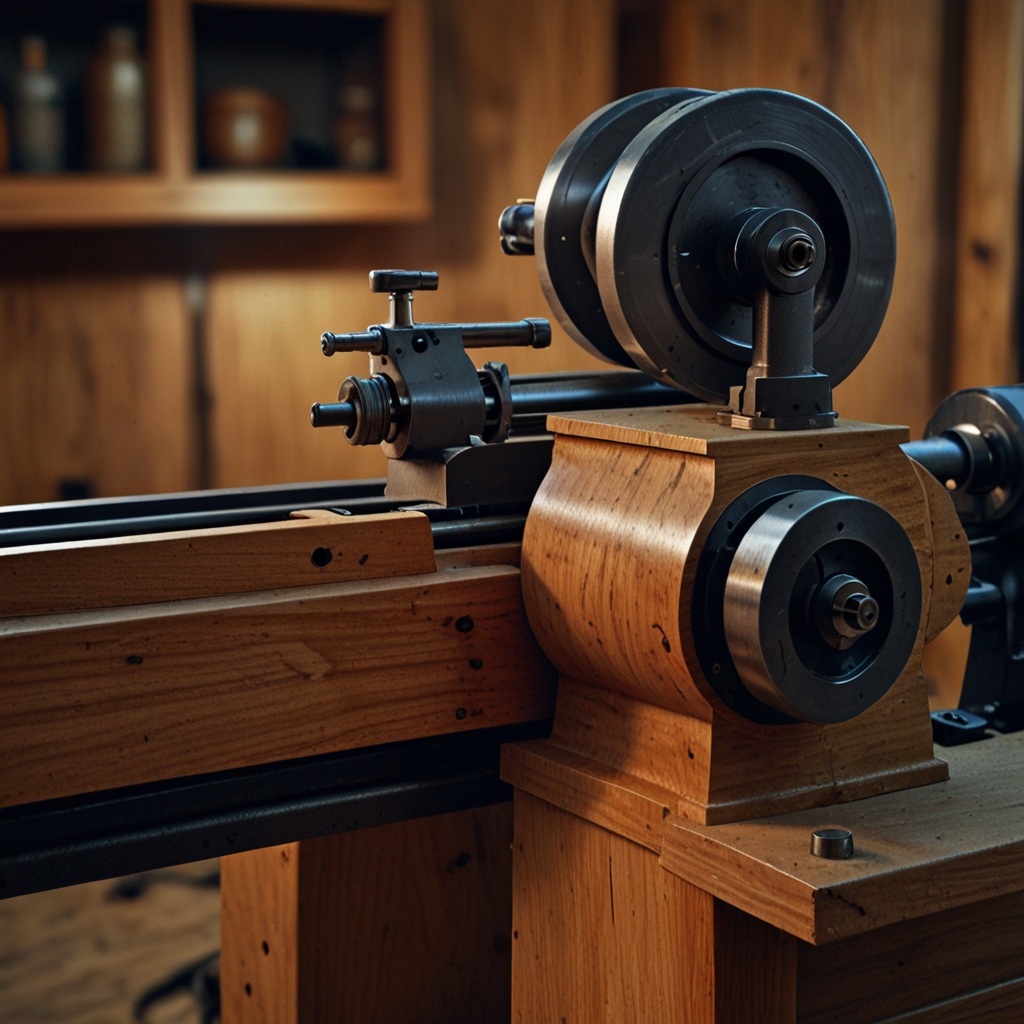
The first step in assembling a mini wood lathe is to gather all necessary parts, including the motor, headstock, and tailstock. Ensure the component alignment is precise by using a level or laser alignment tool, as misalignment can cause operational issues. Always follow construction safety guidelines, such as wearing protective goggles and gloves, and working in a well-ventilated area. Many hobbyists prefer referring to video tutorials on platforms like YouTube for a detailed step-by-step guide to building a homemade lathe.
What Is the Ideal Construction Timeline?
It typically takes one to two weeks to build a mini wood lathe, depending on available time and complexity. Speed-up factors such as pre-made kits and simplified designs can greatly reduce project duration, but unforeseen issues can slow down the construction process. Your experience impact is significant, with seasoned DIY enthusiasts completing tasks faster and more efficiently. This lathe project can be staged over weekends or evenings, providing flexibility for hobbyists with different schedules or varying levels of expertise.
Tools for Lathe Operations and Maintenance
Essential lathe operation tools for various woodturning projects include spindle gouges, parting tools, and chisel sets. Maintaining lathe tools for durability involves regular cleaning and sharpening to ensure optimal performance. Safety gear such as face shields, dust masks, and hearing protection is crucial while operating a mini wood lathe. Recommended lathe brands for beginners include JET Woodworking and Delta Machinery, which offer quality and reliable tools for entry-level projects.
Turning Tools: Selection and Usage
The most commonly used turning tools are bowl gouges, spindle roughing gouges, and skew chisels. Choosing turning tools appropriate for the project will ensure better results and efficient use. Price ranges for different turning tools can vary, from budget-friendly options at $20 to professional-grade tools costing over $100. Proper tool usage, such as handling and maintenance, significantly extends the lifespan of the wood turning tools, making them a worthwhile investment for any mini wood lathe enthusiast.

- The total cost was $50.
- The project took 15 hours to complete.
- It required 8 different tools.
- Using Pine Wood made it lightweight.
- It has a 1-year lifespan with regular use.
- It can handle pieces up to 12 inches long.
- The motor used has 1200 RPM.
Overcoming Challenges in Building a Mini Wood Lathe
One of the most common problems faced during the building process of a mini wood lathe is maintaining precise alignment of components, which is crucial for effective operation. Troubleshoot alignment by using a dial indicator and a straight edge to ensure all parts are level and aligned. Address electrical challenges when building a powered lathe by clearly labeling all wiring and using a multimeter to check connections, since electrical faults are a common issue. Resolving construction issues often involves using tools such as calipers, levels, and torque wrenches to manage construction issues carefully and ensure a sturdy and quality build.
What Are Common Troubleshooting Techniques?
The key steps to follow for troubleshooting alignment issues include verifying the alignment of the headstock and tailstock using precision instruments. Anticipate common electrical problems such as faulty wiring or shorts by performing regular inspections. Determine if an issue is mechanical or electrical by isolating components and testing them individually, which speeds up the identification process. Go-to troubleshooting resources such as DIY forums (like Woodworking Talk), instructional videos, and user manuals from brands like Jet and Grizzly can provide invaluable assistance for resolving diverse lathe building problems.