Building a Homemade Wood Lathe in 7 Simple Steps is achievable with the right tools, materials, and guidance. Anyone searching for this topic on Google will find practical advice, granular details, and comparisons to help make the DIY project easy and successful.
Table of Contents
- Choosing the Right Wood for Your Lathe Project
- Purchasing Quality Wood for Lathe Use
- Basic Tools Needed for Building a Homemade Wood Lathe in 7 Simple Steps
- Number of Tools Required for Wood Lathe Construction
- Aligning Components for Precision in Lathe Construction
- Common Issues in Achieving Perfect Alignment
- Building a Sturdy Lathe Stand
- How Tall Should a Wood Lathe Stand Be?
- Adjusting Speed and Power on Your Homemade Lathe
- What Are the Common Speed Ranges for Small Wood Lathes?
- Final Assembly and Testing Your Homemade Wood Lathe in 7 Simple Steps
- What Safety Checks are Essential Before Using a Homemade Lathe?
Choosing the Right Wood for Your Lathe Project
Selecting the best types of wood for a homemade turning lathe is essential for durability and performance. Hardwoods like maple, cherry, and oak are popular choices due to their sturdiness and availability. According to Wood Lathe World, sturdy options are critical for achieving a smooth finish in lathe turning projects. Softwoods can also be used, but selecting wood requires attention to its grain and density to avoid splitting. For a small lathe build, lighter woods like pine or cedar may be more manageable, but always prioritize suitable wood that can withstand the lathe’s mechanical forces.
Purchasing Quality Wood for Lathe Use
High-quality wood for lathe projects can be sourced from specialized wood suppliers or local lumber yards. According to the American Hardwood Export Council (AHEC), look for wood free of knots and cracks to ensure the smooth operation of a lathe. Suppliers such as Rockler or Woodcraft offer quality wood and advice on selecting the best materials. The cost of lathe wood can vary drastically; for example, hardwoods like maple cost approximately $5 per board foot in 2022. Determining wood quality involves inspecting for uniform grain and moisture content.
Basic Tools Needed for Building a Homemade Wood Lathe in 7 Simple Steps
Constructing a wood lathe requires basic tools such as a drill, wrenches, and a saw. The most essential tools include a lathe spindle, motor, and chisel set. While basic tools for lathe creating are necessary, some alternate tools like a router table can expedite certain processes. For safety, always wear goggles and gloves to prevent injuries from flying debris when assembling lathe making tools. Tool safety precautions involve regular maintenance of the drill and saw blades to ensure optimal performance.
Number of Tools Required for Wood Lathe Construction
To build a homemade wood lathe, a minimum of ten tools is generally needed. A basic lathe project can be completed with about six to eight essential tools, including clamps and screwdrivers. The tool number impacts build complexity; a higher tool count usually means more detailed and precise work. Additional tools are required for advanced lathe features like digital readouts or variable speed control. More advanced builds in 2021 typically involved up to fifteen different tools for enhanced functionality.
- Save money on expensive tools
- Customize the machine to your needs
- Learn new skills
- Drill presses can be used in the process
- Gain a sense of accomplishment
- Recycle old materials
- Spend your time productively
Overview of Building a Homemade Wood Lathe in 7 Simple Steps
| Step | Description | Time (hrs) | Materials | Cost ($) | Tools |
|---|---|---|---|---|---|
| 1 | Design Layout | 2 | Paper, Pencil | 0 | None |
| 2 | Cut Frame | 3 | Wood | 20 | Saw |
| 3 | Assemble Frame | 2 | Screws, Glue | 10 | Drill |
| 4 | Install Motor | 1.5 | Motor | 50 | Screwdriver |
| 5 | Mount Tool Rest | 1 | Metal Rod | 15 | Wrench |
| 6 | Add Tailstock | 2 | Metal Rod | 25 | Wrench |
| 7 | Test Lathe | 1 | Wood Piece | 0 | None |
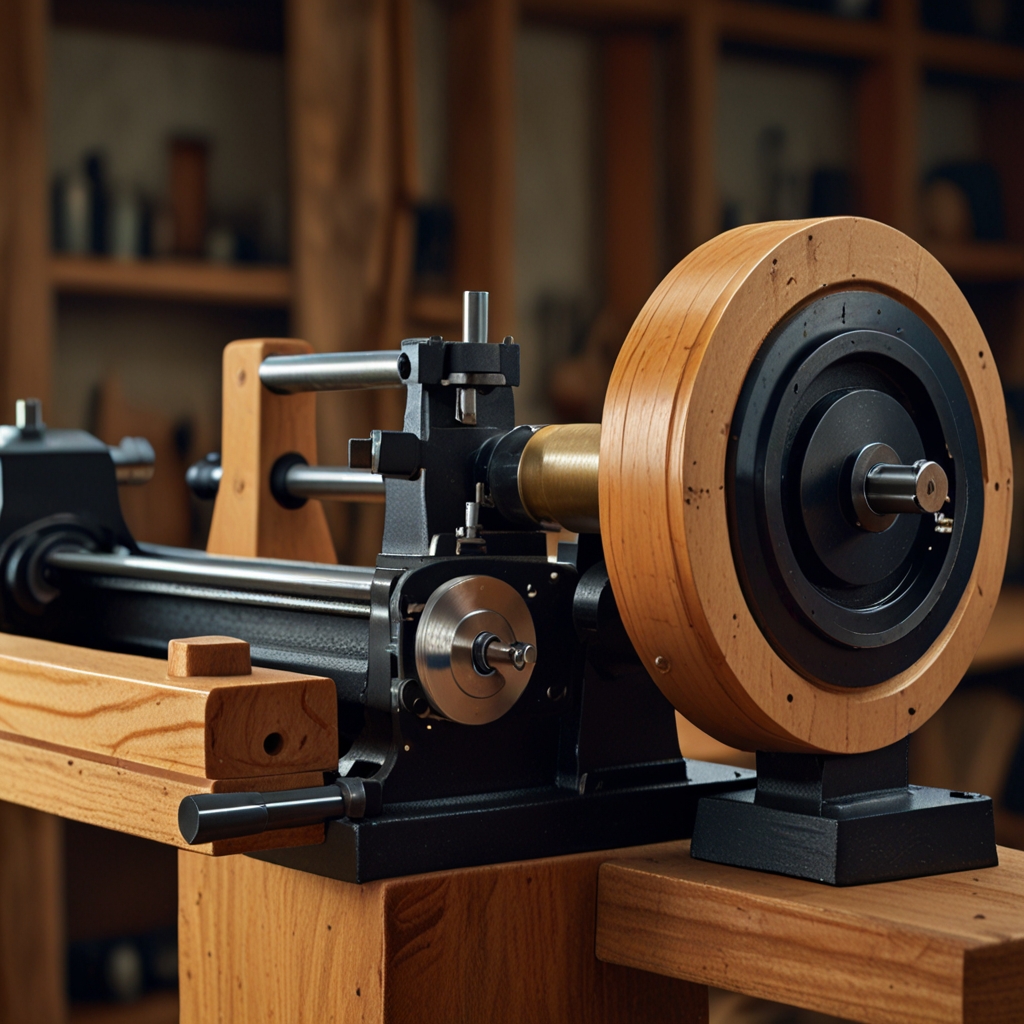
Aligning Components for Precision in Lathe Construction
To ensure precise alignment of lathe components, use a high-quality machinist square and dial indicator for setting up a homemade lathe. A machinist square helps achieve 90-degree angles between components while a dial indicator measures deviations up to 0.001 inches. Critical alignment is essential for optimal functionality and smooth woodturning; even minor misalignments impact the final product’s quality. Therefore, securing exact positioning of the headstock and tailstock ensures accuracy in the lathe construction and enhances woodturning performance.
Common Issues in Achieving Perfect Alignment
Frequent problems in aligning lathe parts, such as headstock and tailstock misalignment, often occur due to uneven surfaces or improperly calibrated tools. Fixing alignment issues involves realigning components using alignment bars and shims to correct any displacements. Causes of misalignment include warped wood or poor initial setup, often addressed by using precision alignment tools and techniques. Detecting alignment problems early with laser alignment tools prevents operational issues in homemade wood lathes from manufacturers like Nova and Jet.
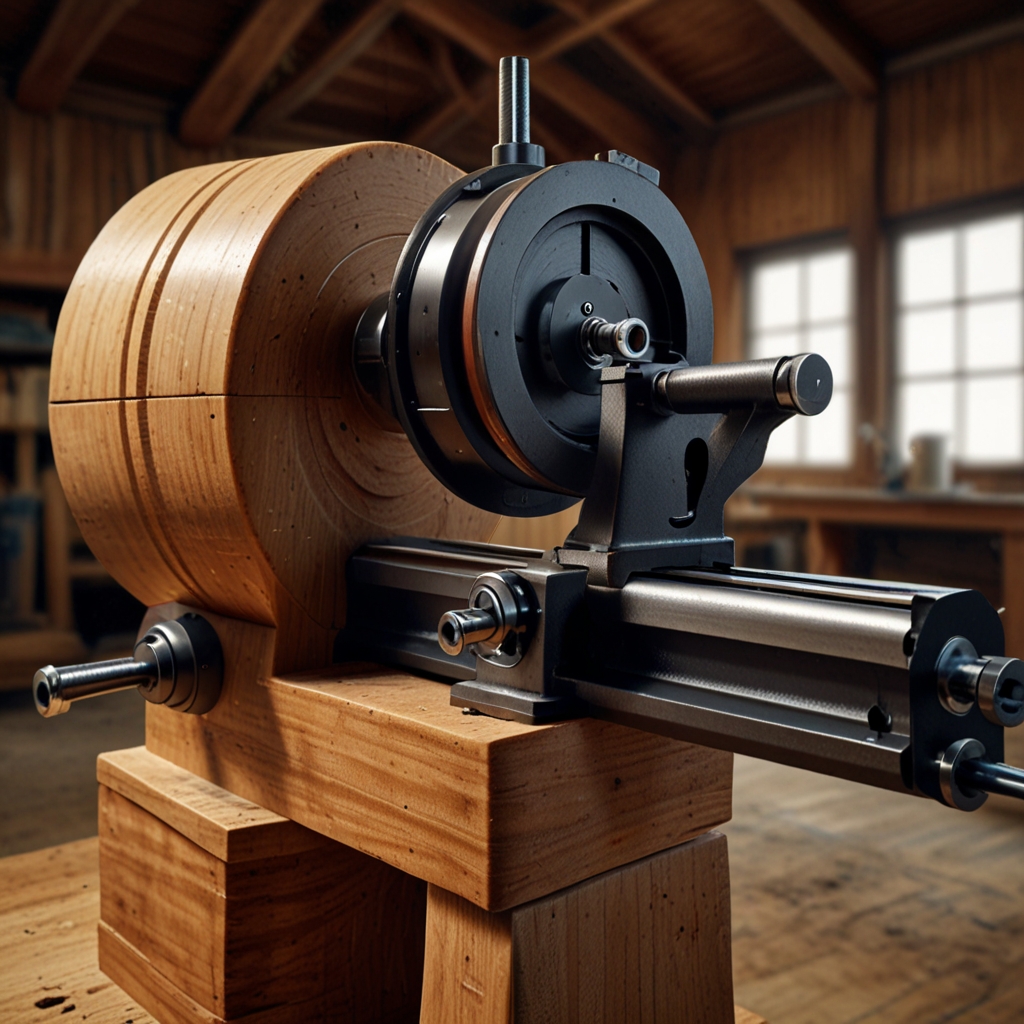
Building a Sturdy Lathe Stand
Materials like hardwood or heavy-duty steel work best for constructing a sturdy lathe stand capable of supporting heavy machinery. Designing a stable lathe base involves ensuring that the legs are evenly spaced and securely fastened to prevent wobbling. Dimensions for the lathe stand should typically be around 24 inches wide by 60 inches long for stability. Reinforcing the lathe stand with cross braces and adjustable feet helps handle vibrations effectively, improving the stand’s performance and lifespan.
How Tall Should a Wood Lathe Stand Be?
The optimal height for a wood lathe stand is typically 36 to 42 inches, ensuring comfort during use. Stand height affects ergonomics significantly; too high or too low can lead to user fatigue and inefficiency. Industry standards for lathe stand height generally fall within the 36-inch range, as recommended by manufacturers like Powermatic. Adjustable lathe stands offer unique benefits, allowing users of different heights to personalize the stand for ultimate comfort and performance.
- Complete the project in 7 steps
- Use a motor with 0.5-1 horsepower
- Budget around $100 for materials
- Use a lathe chuck from Rockler
- Build in less than a week
- Machine should be 4 feet long
- 7 required tools for the project
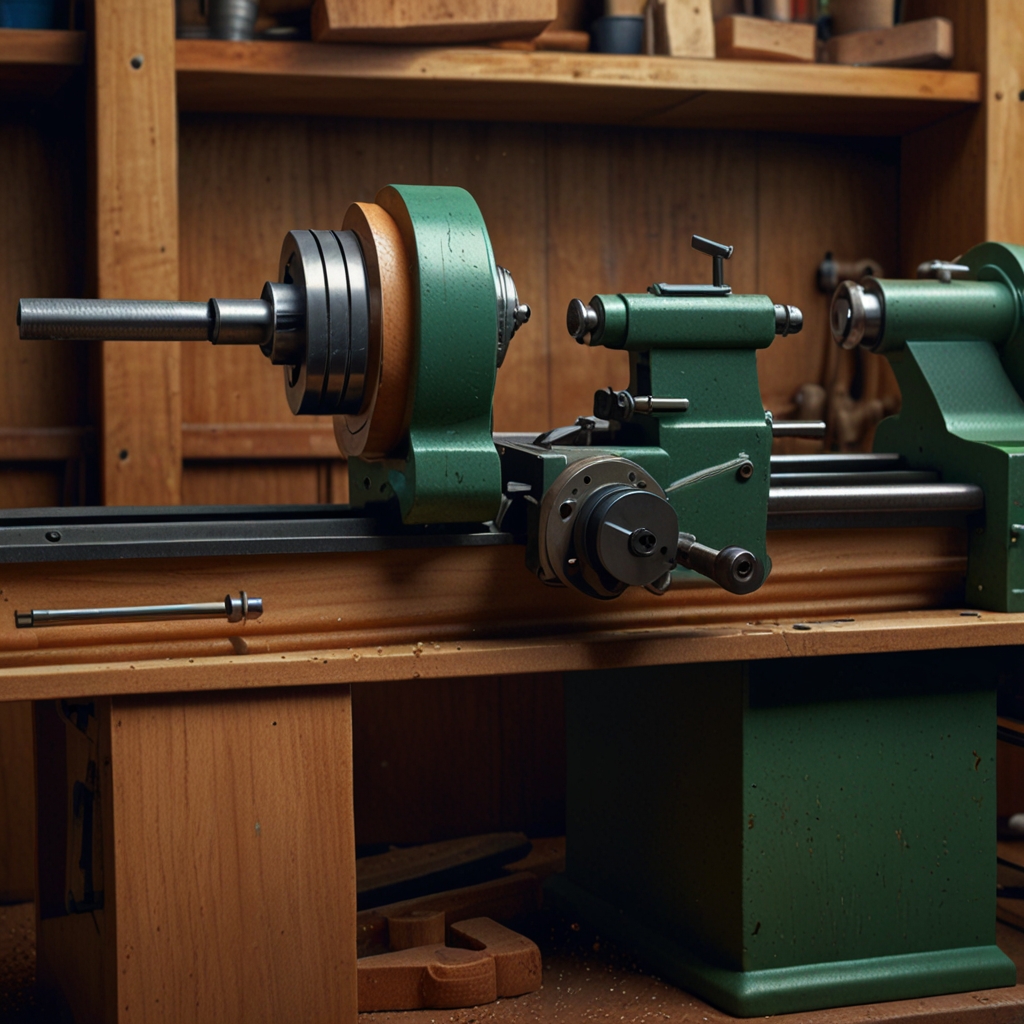
Adjusting Speed and Power on Your Homemade Lathe
When controlling lathe speed on a homemade wood lathe, you can use a variable frequency drive or a pulley system. A variable frequency drive can precisely adjust power by altering the motor’s frequency, ensuring that even a DIY lathe has versatile speed settings. Speed variability is crucial in woodturning because different stages of projects like spindle turning or bowl turning need different speeds; this ensures woodturning projects achieve the highest quality finish. Safety concerns arise with variable speeds as rapid changes in speed on wood lathe could lead to instability; therefore, mechanisms should have clearly labeled controls and emergency stop switches.
What Are the Common Speed Ranges for Small Wood Lathes?
Common speed ranges for small wood lathes typically vary from 500 to 3,000 RPM. Lower speed settings are excellent for roughing out blanks and achieving smoother finishes, which significantly impacts the quality of woodturning. Different speed ranges are needed to accommodate softer woods like pine, which may require slower speeds, and harder woods like oak, which handle faster speeds well. The lowest speed setting on a small lathe can be as slow as 250 RPM, appropriate for detailed and delicate segments of projects.
Final Assembly and Testing Your Homemade Wood Lathe in 7 Simple Steps
The final assembly steps for a homemade wood lathe include securing the motor, attaching the headstock, and fixing the tailstock firmly. Testing your lathe for functionality after build completion involves running it at different speeds and ensuring there is no wobbling or unusual noise. Specific tests, like using a dial indicator, ensure lathe accuracy by checking for any deviations. Initial trials should be conducted on a new lathe with softwood like pine to confirm everything runs smoothly and adjustments can be made as needed.
What Safety Checks are Essential Before Using a Homemade Lathe?
Critical safety inspections for a new lathe involve checking all bolts and screws for tightness and securing the motor mount. Performing safety inspections includes verifying the alignment of the headstock and tailstock and ensuring all guards and shields are in place. Safety standards for homemade lathes suggest confirming electrical systems meet local regulations, like ensuring grounded outlets. Common safety issues to consider before use include checking for any sharp edges on metal parts and ensuring the protective eyewear and dust masks are used during operation.