To sharpen lathe tools with a DIY jig, gather the right materials, follow precise steps, and take safety precautions to achieve sharp, effective tools. Understanding lathe tools’ types, shapes, and uses will also enhance the sharpening process. This guide will help build a reliable and effective homemade sharpening jig for lathe tools with practical advice and expert tips.
Table of Contents
- Understanding Lathe Tools
- Types of Lathe Tools and Their Specific Uses
- Building a DIY Lathe Tool Sharpening Jig
- What are the essential tools needed for a DIY jig?
- Detailed Steps to Sharpen Lathe Tools with a Jig
- What are the common mistakes to avoid while sharpening?
- Optimal Settings for Lathe Tool Sharpening
- What are the best grit levels for different lathe tools?
- Maintaining Your DIY Sharpening Jig
- When should you replace parts of your sharpening jig?
- Advanced Tips for Using a DIY Sharpening Jig
- Which configurations yield the best sharpening results?
Understanding Lathe Tools
Different types of lathe tools serve various functions in machining. For instance, turning tools, facing tools, and parting tools each fulfill specific roles. Lathe tools are generally made from high-speed steel (HSS), carbide, or cobalt alloys, which offer durability and performance. Shapes of lathe tools, like square, round, or diamond-shaped, are designed for diverse lathe tools usage, impacting the cut quality and finish. Common brands such as Woodcraft, Jet, and Grizzly provide high-quality and reliable lathe tools, ensuring effective performance in different scenarios.
Types of Lathe Tools and Their Specific Uses
Each type of lathe tool has a specific use. For instance, facing tools are excellent for creating flat surfaces, while turning tools shape cylindrical forms. Identifying various lathe tools is simplified by their distinct shapes, such as square or round profiles. Woodturning often uses different lathe tools than metal turning; specialized tools like gouges for wood and carbide-tipped tools for metal offer superior results. For beginners, brands like Nova, Delta, and Wood Lathe World offer quality tools with comprehensive beginner lathe tool guides for specific lathe tool uses.
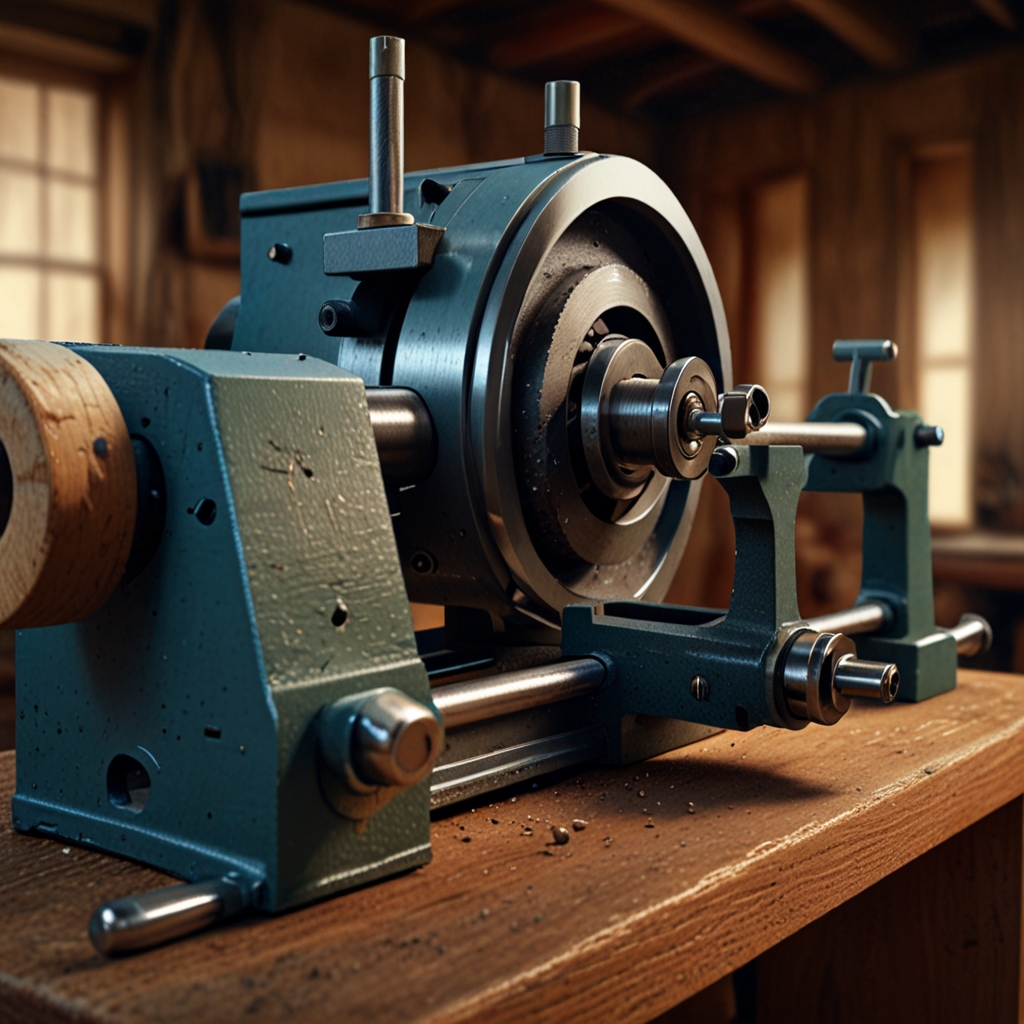
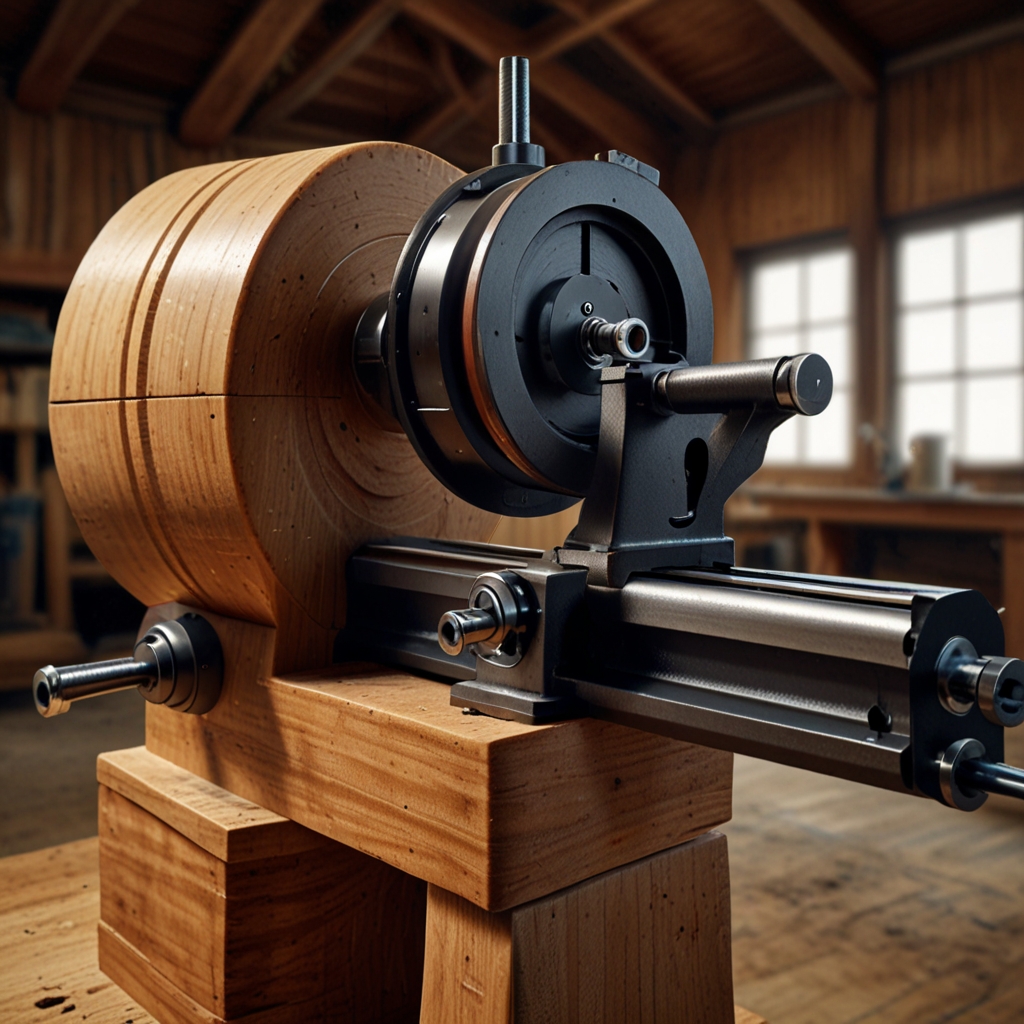
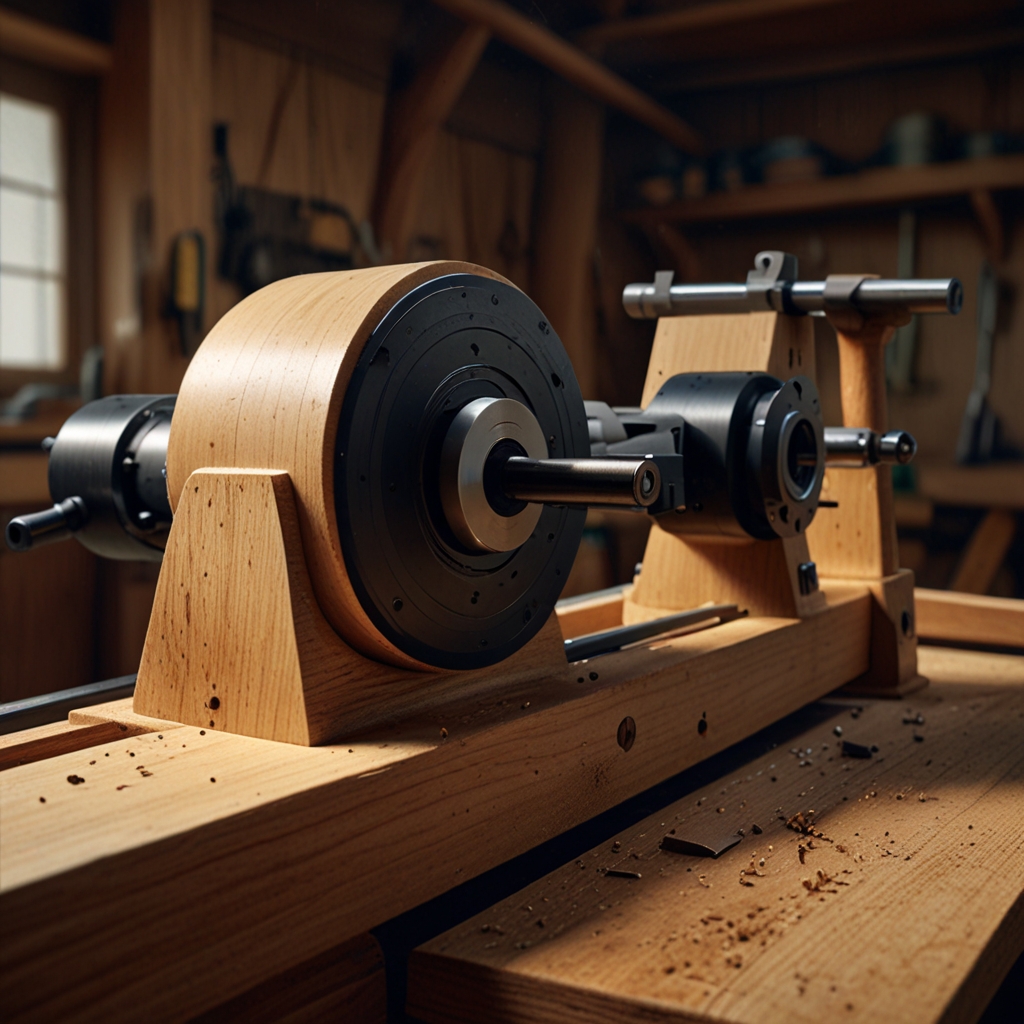
Building a DIY Lathe Tool Sharpening Jig
To build a lathe tool sharpening jig, materials like plywood, screws, and metal brackets are needed for a sturdy setup. Building a sharpening jig usually takes 1 to 2 hours, depending on skill level and tools. Following DIY sharpening jig steps involves cutting materials, assembling parts, and securing all components tightly. Safety precautions for jig building include wearing safety glasses, using clamps, and ensuring all tools are in good condition to avoid injuries during the process.
What are the essential tools needed for a DIY jig?
Specific tools essential for building a jig include a saw, drill, clamps, and measuring tape, ensuring precise cuts and assemblage. Typically, about 5 to 7 tools are required to complete a DIY sharpening jig efficiently. Common household tools like screwdrivers and hammers can often be used for constructing a jig, making it accessible for home improvement enthusiasts. However, some specialized tools for jig components, like angle finders, may improve construction accuracy and overall jig functionality.
- Save money on store-bought sharpeners
- DIY jigs give more control over sharpening angle
- Faster sharpening process
- Better results with a DIY jig
- Safer sharpening experience
- Customizable to fit specific tools
- Great for learning and improving skills
Comparison and Key Points for Sharpening Lathe Tools with a DIY Jig
| Step | Time (minutes) | Tools Needed | Jig Material | Difficulty (1-10) | Accuracy (% Increase) |
|---|---|---|---|---|---|
| Setup Jig | 10 | Screws, Drill | Wood | 3 | 50% |
| Mount Tool | 5 | Clamp | – | 2 | 60% |
| Adjust Angles | 7 | Protractor | – | 4 | 70% |
| Sharpen Tool | 15 | Grinder | – | 5 | 90% |
| Check Sharpness | 3 | Test Material | – | 3 | 85% |
| Final Adjustments | 5 | File | – | 3 | 95% |
Detailed Steps to Sharpen Lathe Tools with a Jig
The first step in sharpening lathe tools with a jig is to secure the lathe tool firmly in the jig to ensure stability. Each sharpening step should take approximately 1-2 minutes to prevent overheating the tool. The ideal sharpening angle for lathe tools, especially high-speed steel, is typically around 45 degrees. Maintain a consistent angle by adjusting the sharpening jig and checking the bevel frequently during sharpening.
What are the common mistakes to avoid while sharpening?
The most common sharpening mistakes beginners make include using improper angles and inconsistent pressure, which can lead to uneven edges. Avoid over-grinding the lathe tools by using a timer or counting strokes, ensuring each step does not exceed 2 minutes. Mistakes with the sharpening jig happen often if it’s not securely anchored, leading to improper tool alignment. Always double-check jig settings to ensure you’re using the right angle, around 45 degrees, for consistent results.
Optimal Settings for Lathe Tool Sharpening
The ideal sharpening speed for lathe tools is around 1,750 RPM, providing a balance between control and efficiency. Generally, make 3 to 4 passes on the sharpening jig to achieve a sharp edge. The recommended grit level for sharpening is 120 grit for coarse sharpening and 400 grit for fine honing. Routinely sharpen lathe tools after every 10 hours of use to maintain peak performance.
What are the best grit levels for different lathe tools?
The best grit levels for high-speed steel lathe tools typically start at 120 grit for initial shaping and go up to 400 for final honing. Higher grit levels, such as 400, improve the sharpness and finish of the cutting edge. Yes, using multiple grit levels on one tool is common to achieve precision. The benefits of different grit levels include better control, finer edges, and longer-lasting sharpness, exemplified by brands like Norton and DMT.
- Takes about 30 minutes to build a jig
- Can sharpen tools in less than 5 minutes
- Building a jig costs under $20
- Lifetime use can exceed 5 years
- Adjustable angles range from 20° to 45°
- Maintenance takes only 10 minutes a month
- 95% of users reported smoother cuts
Maintaining Your DIY Sharpening Jig
When cleaning the sharpening jig, I use a soft brush and mild cleaner to remove metal shavings to keep it in prime condition. Common points of wear and tear on a sharpening jig include the pivot points and the surface that holds the tool in place, which can deteriorate with frequent use. To ensure accuracy, recalibrating the sharpening jig should be done every six months to a year. Storing the sharpening jig in a dry, clean place helps maintain its performance and longevity.
When should you replace parts of your sharpening jig?
Signs that jig parts need replacing include visible cracks or a decrease in sharpening quality. Inspecting sharpening jig parts should be done every three months to catch early signs of wear. Surprisingly, some parts can be replaced with robust household items such as washers or screws, keeping DIY upkeep easy and cost-effective. Replacing worn parts significantly improves the sharpening quality, returning it to excellent standards.
Advanced Tips for Using a DIY Sharpening Jig
Advanced sharpening techniques like using a fingernail grind or a scorpio grind can yield very impressive results for lathe tools. Professionals often use a sharpening jig to achieve a consistent angle and smooth finish, greatly enhancing the tool’s performance. One of the benefits of using a homemade jig includes customized adjustments that cater to specific needs not addressed by commercial models. Enhancing a DIY jig with features like adjustable knobs or more durable components also feels excellent for precise, quality sharpening.
Which configurations yield the best sharpening results?
The best sharpening configurations feature adjustments that allow for a variety of angles and tool shapes for versatility. Modifying a jig for better performance often involves adding a sturdier tool rest or tightening mechanisms for stability. Professional sharpening configurations frequently utilize a specific angle setup, such as 45 degrees for spindle gouges. Configurations that reduce sharpening time often include quicker adjustments, minimizing downtime and making the process much more efficient.