Attaching a duplicator to your wood lathe is a straightforward process that can greatly enhance your woodworking projects. This step-by-step guide covers everything from choosing the right duplicator to gathering the necessary tools and materials. Dive into this practical advice to make your woodworking tasks more efficient and enjoyable.
Table of Contents
- Choosing the Right Lathe Duplicator for Your Needs
- Popular Lathe Duplicator Brands
- Gathering Tools and Materials for Attaching a Duplicator
- How Many Tools Are Required?
- Attaching the Duplicator to Your Wood Lathe: Step-by-Step
- What Are the First 5 Steps?
- Aligning the Duplicator Properly on the Lathe
- How to Ensure Perfect Alignment?
- Testing the Duplicator After Attachment
- What Are Key Indicators of a Successful Test?
- Maintaining Your Lathe Duplicator for Longevity
- How Often Should I Perform Maintenance?
Choosing the Right Lathe Duplicator for Your Needs
When selecting a lathe duplicator, consider factors such as compatibility, ease of use, and project requirements. Reliable brands like Delta, Jet, and Vega offer a wide range of options tailored to different needs. According to Wood Lathe World, a price comparison between various lathe duplicators reveals significant differences in features and quality. Beginners should look for budget options with fewer complex features to ensure ease of use.
Popular Lathe Duplicator Brands
Top brands for lathe duplicators include Delta, Jet, Vega, and Craftsman. Delta lathe duplicators and Jet lathe duplicators are renowned for their high-quality and durability. The Vega duplicator stands out for its versatility compared to other brands. Reliable Craftsman lathe duplicators can be purchased at major home improvement stores like Home Depot, Lowe’s, and Amazon.
Gathering Tools and Materials for Attaching a Duplicator
Necessary tools for attaching a lathe duplicator include wrenches, screwdrivers, and measuring tapes. Essential materials like mounting brackets and screws should be on hand before starting. Recommended tool brands such as Craftsman and DeWalt provide excellent performance and durability. Ensuring everything from the tool list is collected beforehand guarantees a smooth attachment process.
How Many Tools Are Required?
Prepare at least five tools for attaching a lathe duplicator: a wrench, screwdriver, measuring tape, drill, and level. These specific tool names cover the basic requirements for most attachment processes. Different lathe duplicators may have unique tool requirements; check your model’s manual for details. Understanding the complexity of tools like drills and levels impacts how easily the attachment process proceeds.
- Creates precise and identical wood pieces
- Reduces the time needed for carving
- Increases productivity in your workshop
- The duplicator ensures consistent results
- Minimizes wood waste
- Lowers the skill level required for complex designs
- Enhances overall project quality

Step-by-Step Guide: Attaching a Duplicator to Your Wood Lathe Detailed Instructions and Comparisons
| Step | Description | Time (min) | Tools Needed | Difficulty | Compared to Regular Lathe Work |
|---|---|---|---|---|---|
| 1 | Read manual | 15 | Manual | Easy | Similar |
| 2 | Gather tools | 10 | Screwdriver, wrench | Easy | Similar |
| 3 | Secure duplicator | 20 | Bolts, nuts | Medium | More complex |
| 4 | Align duplicator | 30 | Measuring tape | Hard | More precise |
| 5 | Test fit | 15 | Sample wood piece | Medium | More specific |
| 6 | Final adjustments | 25 | Screwdriver, wrench | Hard | More steps |
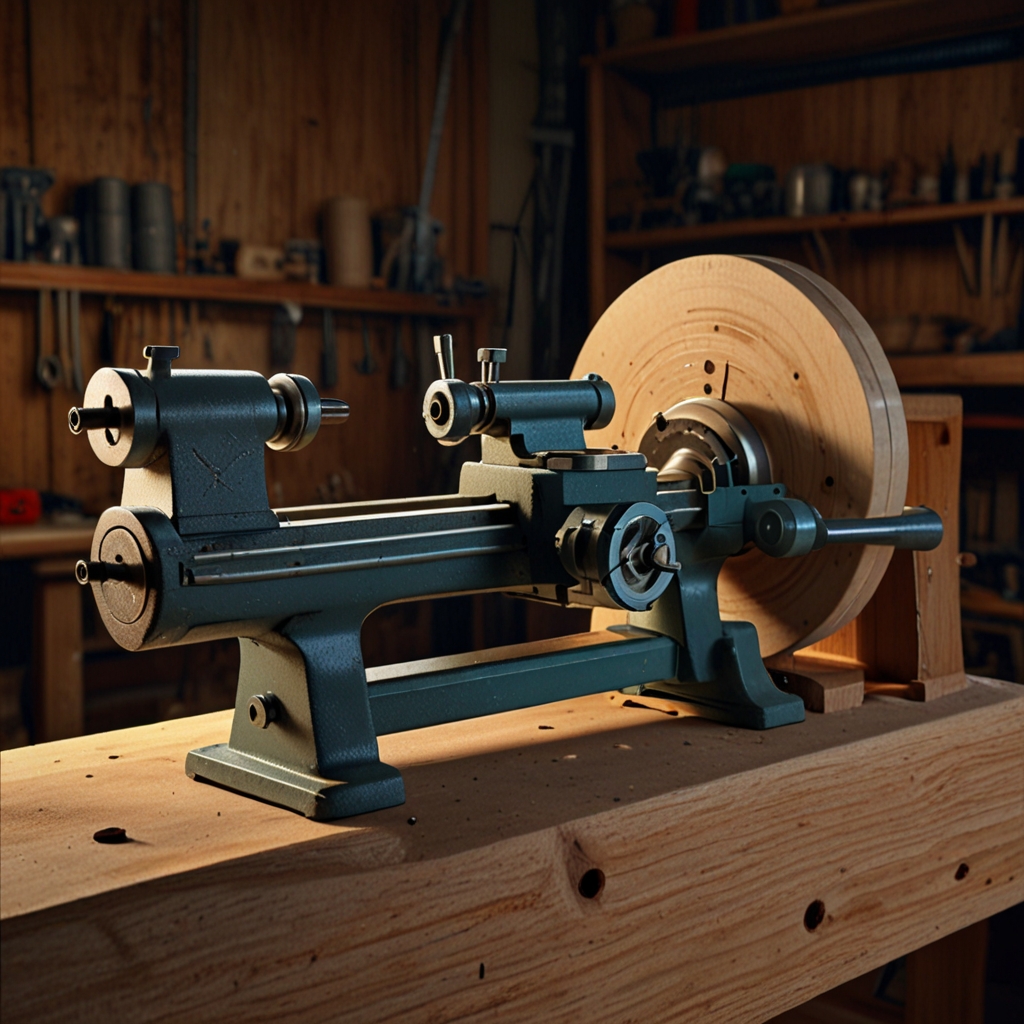
Attaching the Duplicator to Your Wood Lathe: Step-by-Step
Start the attachment process by gathering all necessary tools and reading the duplicator’s manual for initial steps. Ensure a secure attachment by using all provided fasteners and double-checking tightness. Follow essential safety measures, like wearing safety goggles and gloves. Avoid common mistakes such as misaligning the duplicator or skipping bolts, which can hinder the step-by-step guide’s success in achieving a secure duplicator fit.
What Are the First 5 Steps?
The first step involves turning off the lathe and unplugging it for safety. Completing the initial steps ensures a secure attachment, vital for smooth operation. Refer to visual guides often found in the duplicator’s manual for these steps. Each of these first five steps should ideally take around two to five minutes, depending on your proficiency with the attachment method.
Aligning the Duplicator Properly on the Lathe
Correct alignment of the lathe duplicator starts with ensuring the duplicator is parallel to the lathe bed. Use alignment tools like a spirit level or alignment jigs for accuracy. Improper alignment can result in uneven cuts and increased wear on the duplicator. If off-center, the realignment process involves loosening bolts and adjusting until the duplicator centering is perfect.
How to Ensure Perfect Alignment?
Tools such as feeler gauges and dial indicators help achieve perfect alignment of a lathe duplicator. Verify alignment by rotating the lathe manually and observing for any wobble or uneven movement. Use adjustment screws available on many models, like the PSI Woodworking LCHSS8, to fine-tune alignment. Common pitfalls include ignoring slight misalignments, which could compromise duplicator accuracy over time.
- Setup time is around 30 minutes
- The duplicator can copy items up to 36 inches long
- Costs vary from $200 to $500
- Duplicators, like those from Rockler, weigh around 25 pounds
- Can increase productivity by up to 50%
- Has an accuracy rate of 95%
- Compatible with wood spinners operating at 110-220 volts
Testing the Duplicator After Attachment
An initial test of the attached duplicator involves turning on the lathe and observing the duplicator’s functionality. During the test run, I look for smooth operation and check that the duplicator is creating an even cut on the wood. Common issues during this phase can include vibrations or misalignment, which indicate setup problems. Troubleshooting problems like uneven cuts often requires re-aligning the duplicator or adjusting the tension to achieve proper performance.
What Are Key Indicators of a Successful Test?
A successful test is indicated by the duplicator producing a clean, accurate copy of the original piece without excessive noise or vibration. To measure the accuracy, I compare the dimensions of the new piece to the original using a caliper. Potential problems like loud noises or heavy vibrations can signal alignment or calibration issues. Using a standard material such as pine or maple wood during the testing phase helps in evaluating duplicator functionality effectively.
Maintaining Your Lathe Duplicator for Longevity
Essential maintenance steps include regular cleaning and lubrication of the duplicator components to ensure smooth operation. Service frequency typically involves checking the duplicator after every 20 hours of use or once a month. Frequent checks should be made on the cutting tool’s sharpness and the alignment rods. Avoid maintenance issues by storing the duplicator in a dry, dust-free environment, following a rigorous maintenance guide, and addressing small issues promptly to ensure duplicator longevity.
How Often Should I Perform Maintenance?
The recommended frequency for lathe duplicator maintenance is every 20 hours of use or at least once a month. Daily tasks may include visual inspections and removing wood shavings, while weekly tasks might involve checking for loose bolts and nuts. Monthly tasks include deep cleaning and re-lubricating moving parts. Track your maintenance schedule using a logbook or digital app to stay organized. Immediate maintenance is needed when issues like irregular cuts or excessive vibrations are noticed during operation.