The step-by-step guide to setting up a Delta wood lathe with accessories is essential for any DIY home improvement enthusiast. Setting up a Delta wood lathe involves choosing the right location, ensuring floor stability, and following precise assembly instructions. This guide will cover each step in detail while incorporating practical tips and expert advice.
Table of Contents
- Choosing the Right Location for Your Lathe
- Floor Stability and Lathe Placement
- Step-by-Step Guide to Assembling the Delta Wood Lathe
- How to Attach the Tailstock?
- Choosing and Installing Lathe Accessories
- How to Install a Lathe Faceplate?
- Lubrication and Maintenance for Delta Wood Lathes
- What Are the Recommended Lubricants?
- Optimal Safety Practices for Using a Delta Wood Lathe
- What PPE Is Required?
- Step-by-Step Guide to Finishing and Polishing Turned Items
- How Long Does It Take for Finish to Dry?
Choosing the Right Location for Your Lathe
Safety considerations are vital when determining wood lathe placement in a workshop. Ensure that the woodworking area is free from flammable materials. A Delta wood lathe and its accessories typically need about 8-10 square feet for comfortable operation. Optimal lighting, like LED overhead lights, enhances visibility and precision. Using a mobile workbench allows easier movement and flexibility in workshop setups, especially for small or shared spaces. Wood Lathe World suggests considering your specific space requirements for the best results.
Floor Stability and Lathe Placement
Floor stability is critical for safe and efficient wood lathe operations. Concrete flooring provides the best stability for reducing wood lathe vibrations and ensuring safety. Using an anti-vibration mat under the wood lathe helps minimize movement and enhances stability. Secure wood lathe placement is crucial; Delta lathe anchoring brackets are recommended for securing the lathe to the floor or a sturdy workbench, combining high performance and stability.
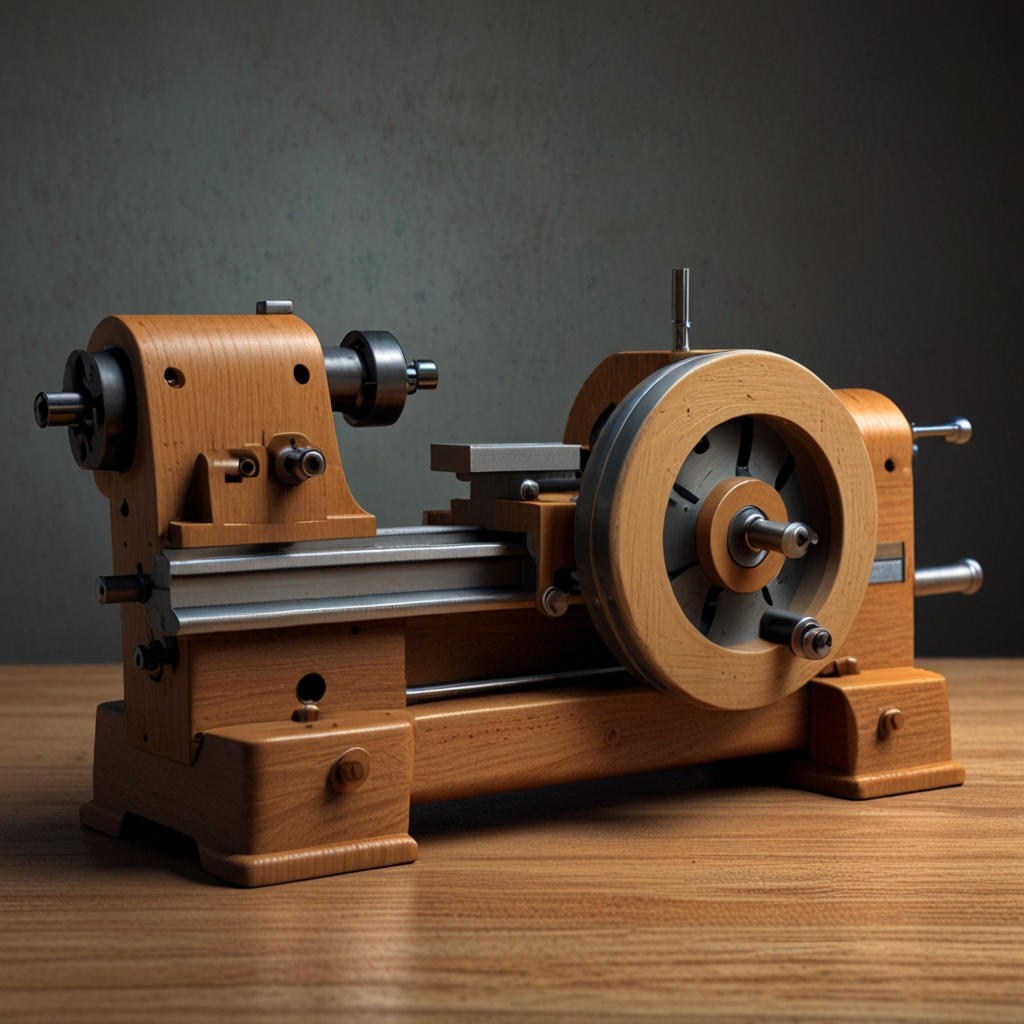
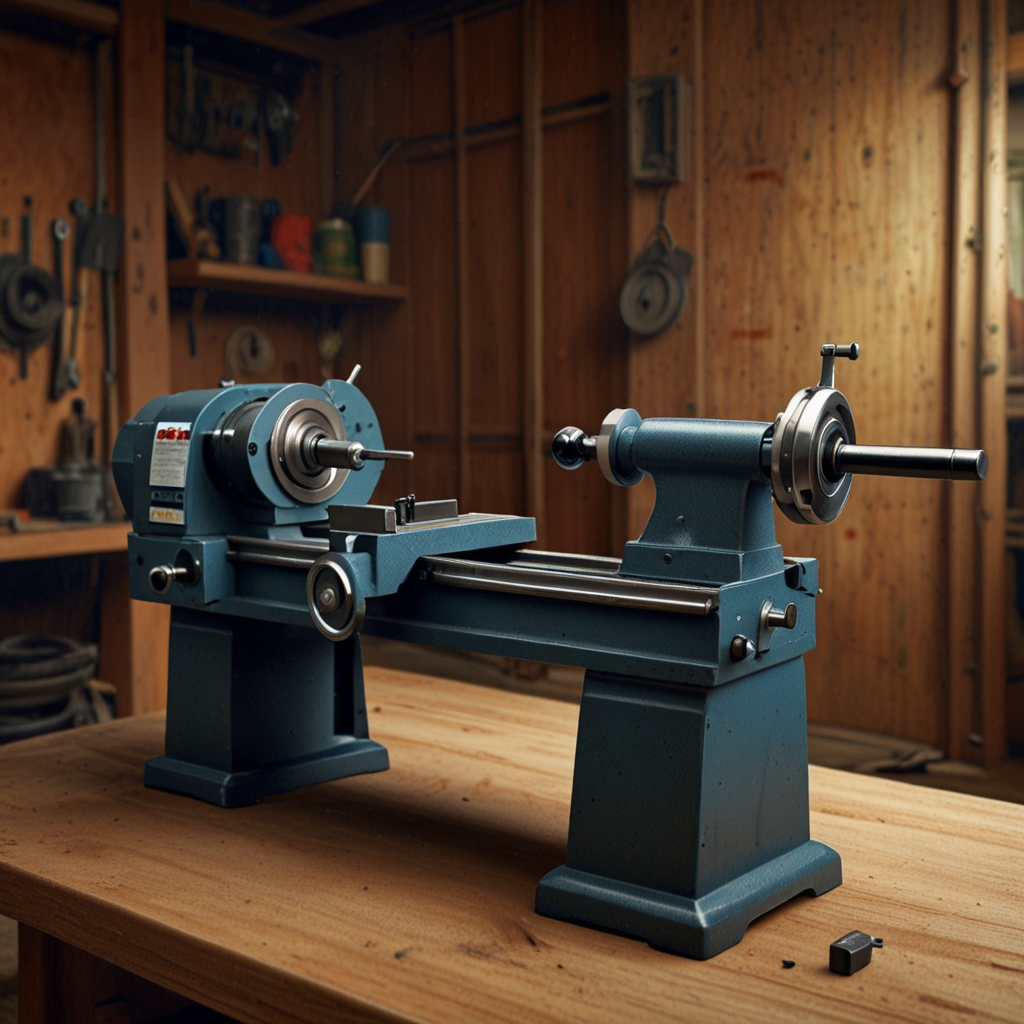
Step-by-Step Guide to Assembling the Delta Wood Lathe
Assembly tools required for a Delta wood lathe usually include wrenches, screwdrivers, and Allen keys. Typically, it takes 2-3 hours to assemble a Delta wood lathe, depending on model complexity. Common assembly mistakes include misaligning the bed and improperly securing bolts. Detailed assembly instructions for each Delta model can be found in the manual provided or on the Delta website. Wood Lathe World’s expertise can help avoid these pitfalls for a seamless assembly.
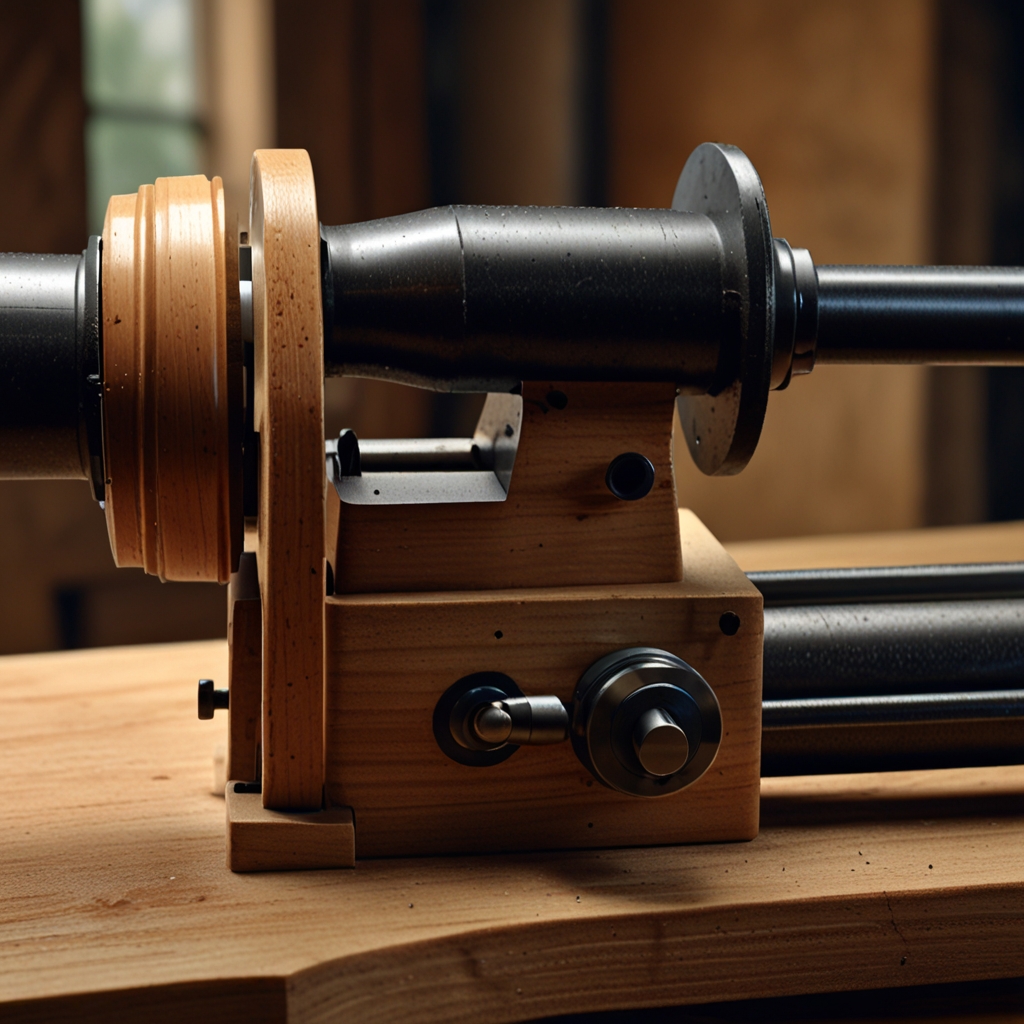
How to Attach the Tailstock?
The steps involved in tailstock attachment start with sliding the tailstock onto the lathe bed and securing it with a locking lever. Ensuring the tailstock is properly aligned with the headstock is crucial for effective operation. Tools needed for secure tailstock attachment include Allen keys and a wrench. Delta models have specific tailstock features such as easy-to-read scales and quick-release levers. Step-by-step tailstock placement improves the overall quality and alignment of the woodworking setup.
- Sparks creativity with woodworking projects
- Delta Wood Lathe provides precise cuts
- Enhances artistic skills and craftsmanship
- Comes with various accessories for flexibility
- Reduces work time with efficient performance
- Enables the creation of custom wooden items
- Improves hand-eye coordination
Step-by-Step Guide to Setting Up a Delta Wood Lathe with Accessories: Tasks, Time Estimates, and Tools Needed
| Step | Description | Time (mins) | Tool Required | Notes |
|---|---|---|---|---|
| 1 | Unbox Lathe | 10 | Utility Knife | Check for damage |
| 2 | Assemble Stand | 30 | Wrench Set | Follow manual |
| 3 | Mount Lathe | 20 | Socket Wrench | Ensure level |
| 4 | Connect Power | 5 | Screwdriver | Secure plug |
| 5 | Attach Accessories | 15 | Allen Wrench | Tighten securely |
| 6 | Startup & Test | 10 | N/A | Check RPM |
Choosing and Installing Lathe Accessories
Woodturning accessories are essential for a beginner woodturner, and you should start by selecting the basic ones. Essential lathe tools include a lathe chuck, faceplate, and various chisels. For lathe chuck installation, align the chuck with the spindle and secure it to ensure safe operation. The accessory functions range from holding workpieces securely to shaping the wood with precision. For Delta wood lathe compatibility, some accessories from other brands might work, but always check for compatibility to avoid issues.
How to Install a Lathe Faceplate?
To perform faceplate installation on a Delta wood lathe, begin by selecting your faceplate and screws. Make sure the faceplate is centered on the spindle by aligning it carefully. Securing faceplate screws tightly is crucial, so use high-quality wood screws for a strong hold. Delta wood lathe faceplates might sometimes be model-specific, so verify the type of faceplate needed for your particular lathe model. When choosing Delta wood lathe faceplates, ensure they are appropriate for the task at hand.
Lubrication and Maintenance for Delta Wood Lathes
Lubricate the Delta wood lathe every two weeks if used frequently, or monthly for occasional use. Recommended Delta lathe lubricants include lightweight machine oil or synthetic oils designed for wood lathes. Routine maintenance involves cleaning the lathe bed, checking belt tension, and inspecting moving parts. Maintenance signs to watch for include unusual noises, vibrations, or difficulty in moving parts. Adhering to a regular lubrication schedule ensures optimal performance and longevity.
What Are the Recommended Lubricants?
The best lubricants for Delta wood lathes are typically lightweight machine oils or synthetic oils designed for high-speed machinery. Use about 5ml of lubricant for each maintenance session to cover all necessary parts adequately. Using the wrong lubricant can damage the lathe, potentially causing performance issues or wear and tear. Environmentally friendly lubricants are available and include biodegradable oils or water-based lubricants that are safe and effective for wood lathe maintenance.
- Delta products feature a motor with 1 horsepower
- The variable speed ranges from 250 to 700 RPM
- Tool rest can move up to 12 inches
- Includes 4 cast iron legs for stability
- Weighs a total of 100 pounds
- Has a bed length of 36 inches
- Comes with a 2-year warranty
- Case Study: How a Novice Craftsman Transformed with 12 Wood Lathe Tools
- How to Maintain and Clean Your Wen Wood Lathe Tools
- NOVA Wood Lathe Innovations: What You Need to Know
- The Controversy Around Central Machinery Wood Lathe Accessories
- Craftsman 12 Wood Lathe Accessories: A Professional Turner’s Success Story
Optimal Safety Practices for Using a Delta Wood Lathe
From personal experience, it’s essential to observe several Delta wood lathe safety practices. Wearing personal protective equipment is necessary for woodturning; for instance, safety goggles and face shields prevent eye injuries from flying debris. Securing wood pieces tightly on the lathe minimizes the risk of workpieces becoming dislodged during use. Beginner safety instructions often emphasize starting with lower speeds to avoid mishaps. Additionally, a wood lathe safety checklist should include inspecting the machinery, using safety gear, and following woodturning precautions to ensure a safe working environment.
What PPE Is Required?
The best types of eye protection for woodturning include ANSI-rated safety goggles or full-face shields, ensuring maximum safety. Hearing protection, such as earplugs or earmuffs, is necessary when using a wood lathe to prevent long-term hearing damage. Special woodturning gloves, which are cut-resistant, offer excellent protection for hands. Proper PPE maintenance involves cleaning safety gear after each use and checking for signs of wear, ensuring wood lathe protection is reliable over time.
Step-by-Step Guide to Finishing and Polishing Turned Items
Effective finishing techniques for woodturned items include sanding with progressively finer grits and applying a sealant. Choosing the right polish for a Delta wood lathe project involves understanding the wood type; for instance, tung oil works great for enhancing natural wood grains. The drying time can vary; shellac may dry in 1 hour, whereas polyurethane might take 24 hours. Environmentally friendly finishes, such as water-based polyurethane, offer low VOC options for woodturning polish.
How Long Does It Take for Finish to Dry?
Factors affecting the drying time of a wood finish include humidity, temperature, and the type of finish used, such as oil or water-based. Waiting at least 4 hours before applying a second coat is typically recommended, though it can vary by product. Faster drying methods for finishes on turned items include using a fan or a dehumidifier. Signs that the finish is completely dry include a lack of tackiness and a uniformly smooth texture, ensuring proper curing time for the Delta lathe finishing project.