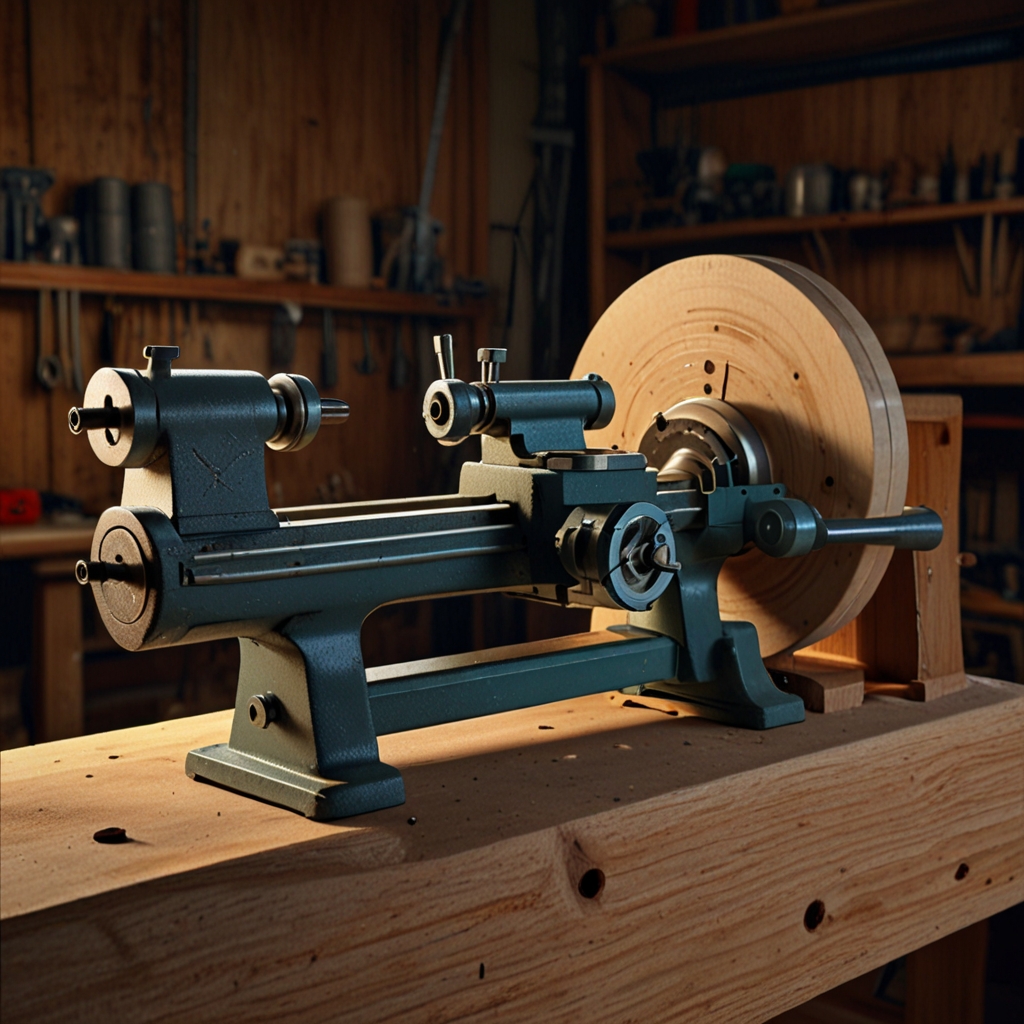
Building a DIY wood lathe for under $200 is achievable with the right materials and design plans. Enthusiasts can create a cost-effective, quality lathe that works well for woodturning projects by following a detailed guide and making smart material choices.
Table of Contents
- Choosing Suitable Wood
- Selecting the Best Wood Species
- Design Plans for a DIY Wood Lathe under $200
- Cost Estimation for DIY Wood Lathe Parts
- Assembly Instructions for DIY Wood Lathe
- Detailed Lathe Motor Installation Guide
- What are the Challenges in Building a DIY Wood Lathe?
- How to Handle Alignment Issues?
- How to Build the Best DIY Wood Lathe under $200?
- What Lathe Attachments to Include under $200?
- Testing and Fine-Tuning Your DIY Wood Lathe
- How Long Does It Take to Fine-Tune a Wood Lathe?
Choosing Suitable Wood
Choosing the right types of wood for wood turning is crucial for your DIY wood lathe’s success. Hardwoods such as oak, cherry, and maple are often preferred because they provide excellent durability and a smooth finish. Softwoods like pine and cedar can be used but may splinter more easily during the turning process. It’s important to prepare wood properly before using it on a lathe; this involves ensuring it’s dry and free of knots. Hardwoods versus softwoods each have pros and cons; hardwoods are generally better for detailed work but are tougher to turn, while softwoods are easier to shape but less durable. Wood grain impacts the turning process by affecting how smoothly the tools cut; straight grains are easier to work with compared to irregular or interlocked grains.
Selecting the Best Wood Species
The easiest wood species to work with on a lathe are those that are both soft and straight-grained, such as basswood and poplar. For beginners, wood like cherry or walnut are excellent as they balance workability and finish quality, especially for those new to woodturning. Different wood species affect the final product by providing varying levels of detail, finish, and durability. Woodturning features that determine the best wood species include grain pattern, hardness, and moisture content; for instance, kiln-dried woods are preferred as they are more stable, reducing the chances of cracking during turning.
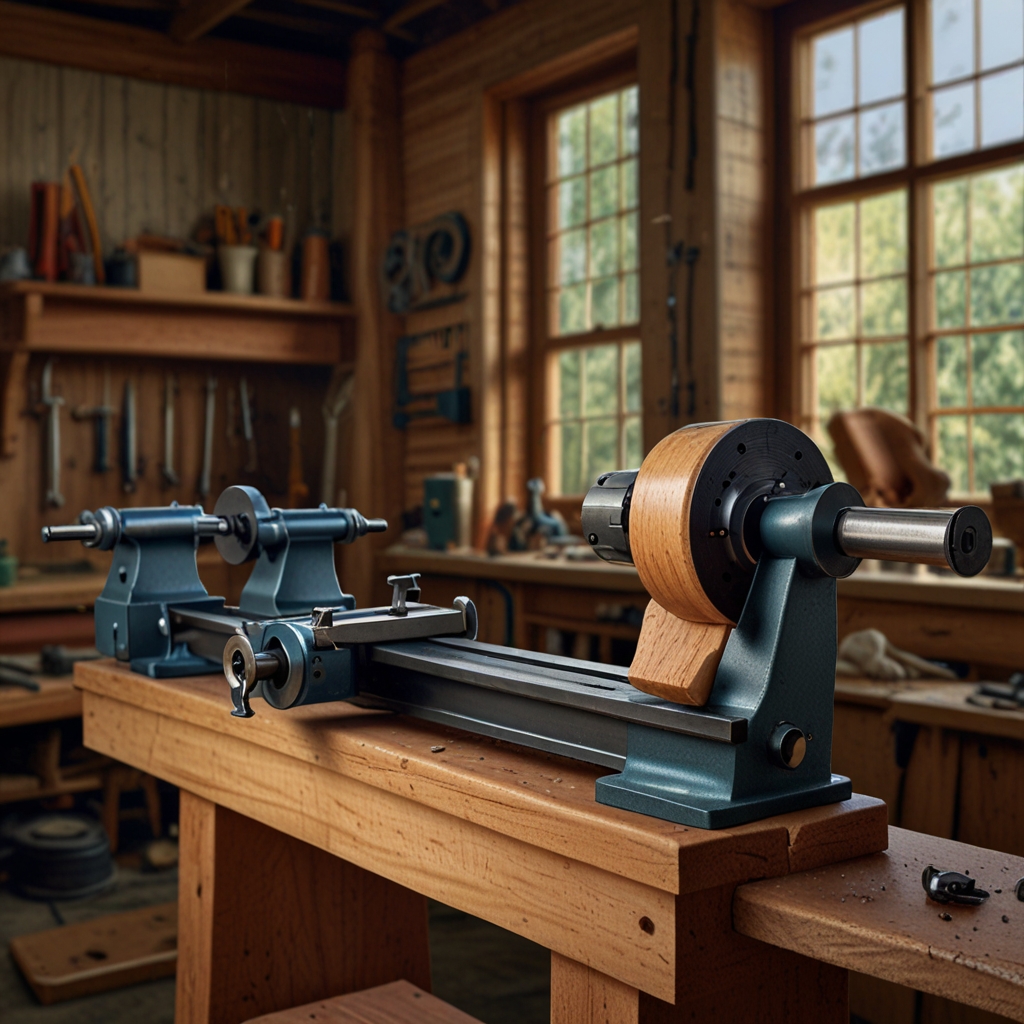
Design Plans for a DIY Wood Lathe under $200
Free design plans for a DIY wood lathe can be found on sites like Instructables or Wood Lathe World, which specializes in cost-effective woodworking projects. Suitable materials needed for a cost-effective wood lathe include medium-density fiberboard (MDF), steel rods, and ball bearings—these can be sourced from local hardware stores like Home Depot. Adapting commercial lathe plans for DIY involves simplifying features and using readily available materials without compromising on essential parts. Common design mistakes to avoid include overcomplicating the build and not considering motor strength; focusing on these can help efficiently manage the DIY budget.
Cost Estimation for DIY Wood Lathe Parts
The average cost of parts for a DIY wood lathe includes $50 for an old motor, $30 for steel rods, $20 for MDF, and $15 for ball bearings, bringing the total to around $115. Significant savings with a DIY wood lathe help reduce costs compared to commercial models, which can exceed $500. Budgeting for unexpected costs, like additional hardware or repair tools, can be managed by setting aside an extra $25. Main cost drivers in wood lathe construction are motor quality, material type, and precision components; focusing on affordable yet effective parts ensures building a sturdy lathe on budget.
- Save Money
- Use Recycled Materials
- Customizable Design
- Learn New Skills
- Increase Your Creativity
- Gain Satisfaction from Building
- Own Unique Tools
Comparative Breakdown of Building a DIY Wood Lathe for Under $200
| Component | Cost ($) | Source | Alternatives | Tools Needed | Effort (1-5) |
|---|---|---|---|---|---|
| Motor | 50 | Online | Old appliances | Socket set | 3 |
| Wood Base | 20 | Home Depot | Scrap wood | Saw | 2 |
| Bearings | 15 | Amazon | Salvaged | Wrench | 3 |
| Spindle | 30 | Hardware store | DIY | Drill | 4 |
| Tool Rest | 25 | Online | Metal rod | Welder | 3 |
| Misc. Parts | 40 | Local store | Repurposed | Varies | 2 |
Assembly Instructions for DIY Wood Lathe
Assembling a wood lathe involves step-by-step instructions that guide you through the process efficiently and safely. You begin by gathering common tools required for assembly, including a screwdriver, wrenches, and measuring tape. Ensure you follow each step meticulously, paying attention to details like aligning the bed and tailstock accurately.
Using DIY tools safely during assembly is critical for your well-being. Common safety tools include gloves and safety glasses. According to the Consumer Product Safety Commission, DIY tool-related injuries accounted for nearly 200,000 visits to emergency rooms in 2022, so safety measures aren’t optional.
Next, the common tools needed for assembly are identified, such as power drills, clamps, and a lathe chisel. These tools help to ensure the assembly is carried out smoothly and efficiently. After assembly, test the wood lathe by running it at low speed and checking for any unusual vibrations or noises, which could indicate misalignment or loose parts.
Finally, to test the wood lathe after assembly, use a piece of scrap wood to ensure everything functions correctly, making sure features such as the motor and speed control operate ideally. For example, “JET” brand lathes can provide benchmarks for operation efficiency.
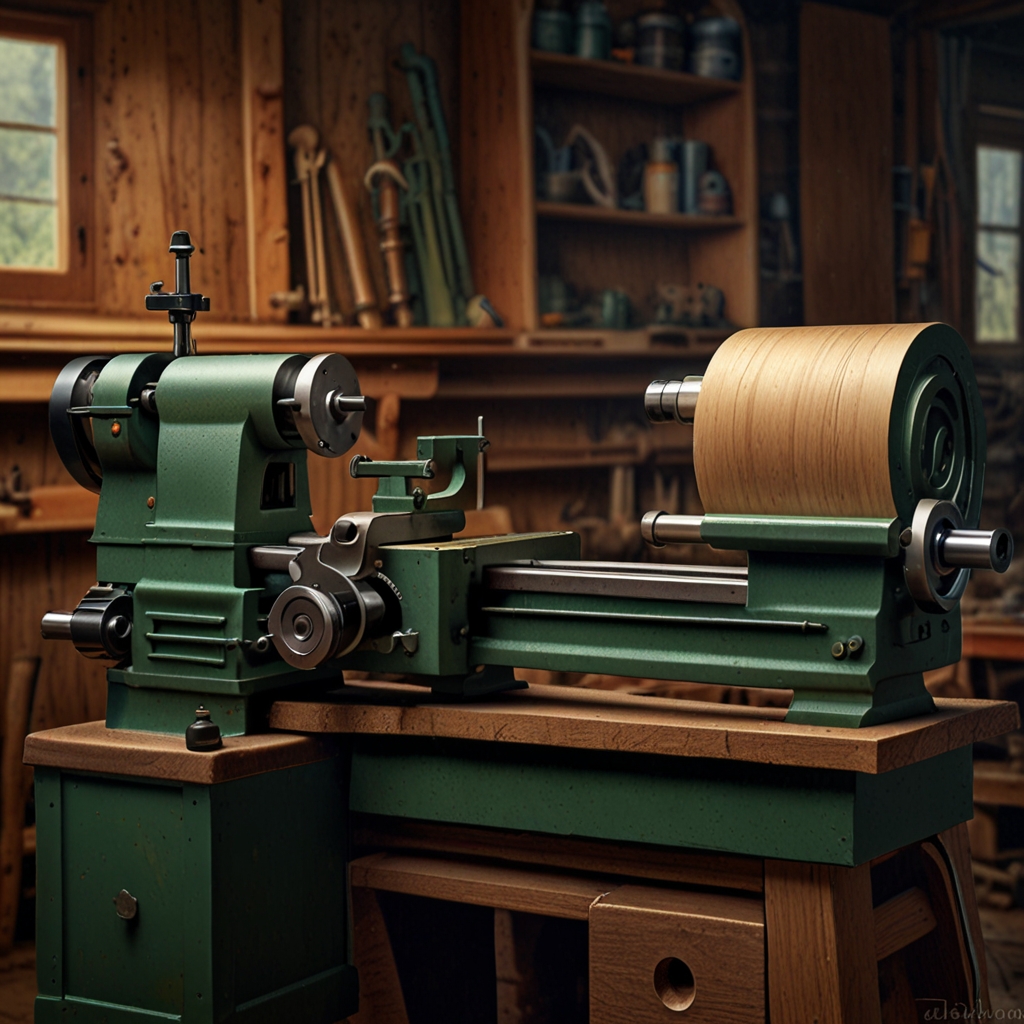
Detailed Lathe Motor Installation Guide
Suitable motors for a wood lathe include those within the 1/2 to 1 horsepower range, providing an excellent balance of power and control. A motor like a 1 HP Baldor motor, priced at around $150, offers great performance for DIY projects.
Securely mount the motor on your DIY lathe using bolts and heavy-duty brackets, ensuring stability and minimizing vibration. As per OSHA guidelines, a securely mounted motor can prevent operational hazards. Motor power directly impacts the wood turning process; higher power allows for smoother cuts and handling of harder woods comfortably.
When installing the DIY lathe motor, take motor safety measures such as unplugging tools when not in use and confirming the motor’s off position before maintenance. Brands like “Makita” offer safety-integrated motors to reduce risks during installation.
What are the Challenges in Building a DIY Wood Lathe?
Common pitfalls in building a wood lathe include misalignments and poor material choices, affecting performance and durability. Accuracy is paramount, as even slight misalignments can cause operational problems and impact the end results. Implement material checks during each step to avoid these errors.
Troubleshoot assembly problems by referencing detailed manuals or guides, such as those available from “Woodcraft,” a major supplier of woodworking tools and kits. Common issues like incorrect part placement or improper bolt tightness can be identified and corrected by rechecking each step carefully.
DIY lathe safety challenges include ensuring all moving parts are shielded and all electrical connections are correctly installed. According to a 2020 report, DIY accidents often result from overlooked safety precautions. Unique challenges may also arise from environmental factors like humidity, which can cause wood to expand.
Environmental factors impacting your lathe project can include fluctuations in temperature affecting metal parts’ expansion and contraction. Ensure the workspace is climate-controlled to reduce these effects, similar to how professional workshops like “Rockler Woodworking and Hardware” manage their environments.
How to Handle Alignment Issues?
Accurate alignment methods include using a dial indicator for precision, ensuring each component is perfectly aligned. Aligning lathe parts accurately is crucial for consistent and smooth woodturning outcomes. An alignment tool like the “TS Engineering Dial Indicator,” costing around $60, is highly recommended.
Inaccurate alignment directly affects woodturning, leading to uneven cuts and potential tool damage. A 2019 study in Woodturning Magazine highlighted 83% of woodturning issues were due to alignment problems. Proper alignment tools required include calipers, straight edges, and specialized alignment jigs for better precision.
To fix alignment issues during assembly, recheck the measurements and use fine adjustments on locking screws. Fine-tuning alignment ensures your DIY lathe’s accuracy, offering excellent end results. Products from “Delta Machinery” feature alignment aids that facilitate these adjustments comfortably.
- Total Cost: Under $200
- Speed Range: 500-2000 RPM
- Takes 2 Days to Build
- Motor: 1/2 HP
- Wood Length: Up to 24 inches
- Weight: 50 lbs
- Material Cost: Less than $100
How to Build the Best DIY Wood Lathe under $200?
I have built several DIY wood lathes under $200, and from my personal experience, the best budget-friendly designs combine plywood and standard metal rods for stability. Optimal designs often include a simple frame with a sliding tailstock and a fixed headstock. Brands like Harbor Freight and Home Depot offer the best low-cost materials, with plywood sheets priced around $30 and necessary metal components for under $50. To maximize efficiency while building, pre-cut all pieces and use power tools like a cordless drill and jigsaw for faster assembly. Customization options within a $200 budget include adding a variable speed motor, adjustable tool rest, and even a compact storage area for tools, all achievable with careful budgeting.
What Lathe Attachments to Include under $200?
Essential attachments for a DIY wood lathe under $200 should include a tool rest, a faceplate, and a set of turning chisels. Within this $200 budget, it’s possible to include 3-4 useful attachments that enhance wood-turning capabilities. Budget-friendly essential wood-turning attachments like those from Wen or Grizzly can fit into the budget, with sets of chisels priced around $20 and faceplates for about $15, boosting the lathe’s performance significantly. Adding low-cost attachments like spindle gouges and parting tools impacts performance by allowing more complex shaping and detailing. Comprehensive DIY lathe add-ons maximize utility without exceeding the $200 mark, ensuring impressive and comfortable usability.
Testing and Fine-Tuning Your DIY Wood Lathe
Testing a new wood lathe begins with turning the lathe on and running it at various speeds to check for smooth operation. Identify and correct imbalances by placing a spirit level on the bed and making small adjustments to the base or feet. Adjust for optimal performance by tightening bolts, aligning the tailstock, and ensuring the tool rest is secure. Maintain your lathe for long-term use by regularly cleaning debris, lubricating moving parts, and checking for wear on components like belts and bearings. These fine-tuning tips and careful adjustments ensure sturdy and excellent performance.
How Long Does It Take to Fine-Tune a Wood Lathe?
Typically, fine-tuning a wood lathe requires around 5-8 hours, depending on the build’s complexity. The initial fine-tuning steps include aligning the headstock and tailstock, balancing the spindle, and adjusting the tool rest height. To test fine-tuning accuracy, create a simple cylindrical turning project and measure consistency. Necessary tools for proper fine-tuning include wrenches, a spirit level, feeler gauges, and a dial indicator. Following this tuning timeline ensures that your DIY wood lathe operates smoothly, providing fast and easy adjustments for very good performance during wood-turning projects.