Crafting wooden bowls with a DIY wood lathe requires some essential knowledge and materials. This case study explores the process and tools needed for enthusiasts interested in creating their own beautiful wooden bowls. Analyzing the must-have tools, best wood species, and building components for a DIY wood lathe, this comprehensive guide offers valuable insights.
Table of Contents
- Materials and Tools Required for Wooden Bowl Crafting
- Choosing the Best Wood Species for Bowl Crafting
- DIY Wood Lathe Essentials for Crafting Wooden Bowls
- How Long Does It Take to Build a DIY Wood Lathe?
- Techniques and Skills for Crafting Wooden Bowls
- What are the Most Common Mistakes in Bowl Turning?
- Finishing Techniques for Wooden Bowls
- What is the Best Finish for Food-Safe Wooden Bowls?
- Case Study: Crafting Wooden Bowls with a DIY Wood Lathe
- Can a DIY Wood Lathe Match Professional Wood Lathes?
Materials and Tools Required for Wooden Bowl Crafting
Wooden bowl crafting primarily requires tools like a wood lathe, gouges, and sandpaper. Wood types like maple and cherry significantly influence the overall crafting process, impacting both aesthetics and workability. Recommended brands for wood lathes include Jet, Nova, and Delta, which are known for quality and sturdy builds. Although hand tools such as chisels can be used for crafting bowls, a lathe offers faster and more precise results, making it the preferred choice for many DIY enthusiasts.
Choosing the Best Wood Species for Bowl Crafting
Common wood species used in bowl crafting include maple, oak, and cherry for their excellent grain workability. Wood hardness directly affects the final product’s durability, with hardwoods like oak providing higher resistance to wear and tear. Opting for sustainable wood, such as bamboo or FSC-certified lumber, ensures eco-friendly crafting practices. For beginners, softer species like pine are considered the best wood species due to ease of shaping and reduced risk of tool damage.
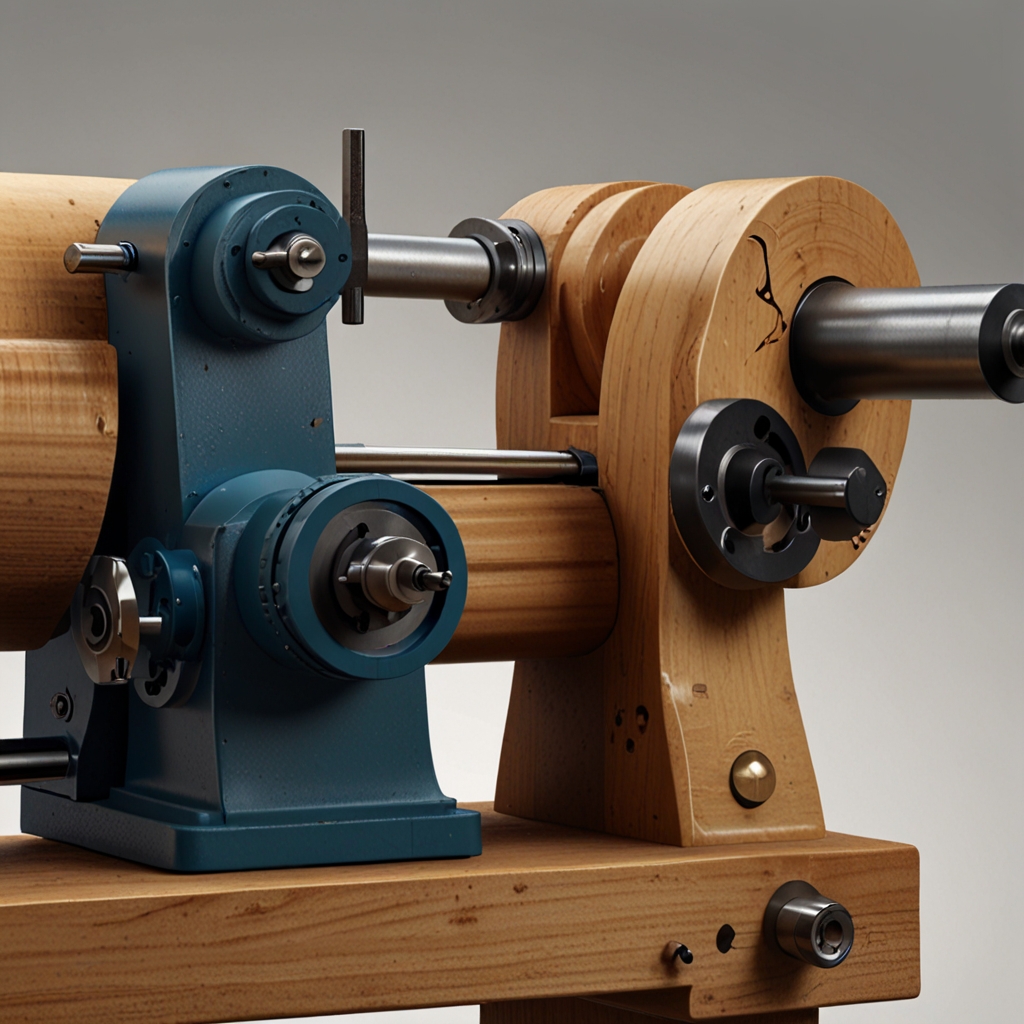
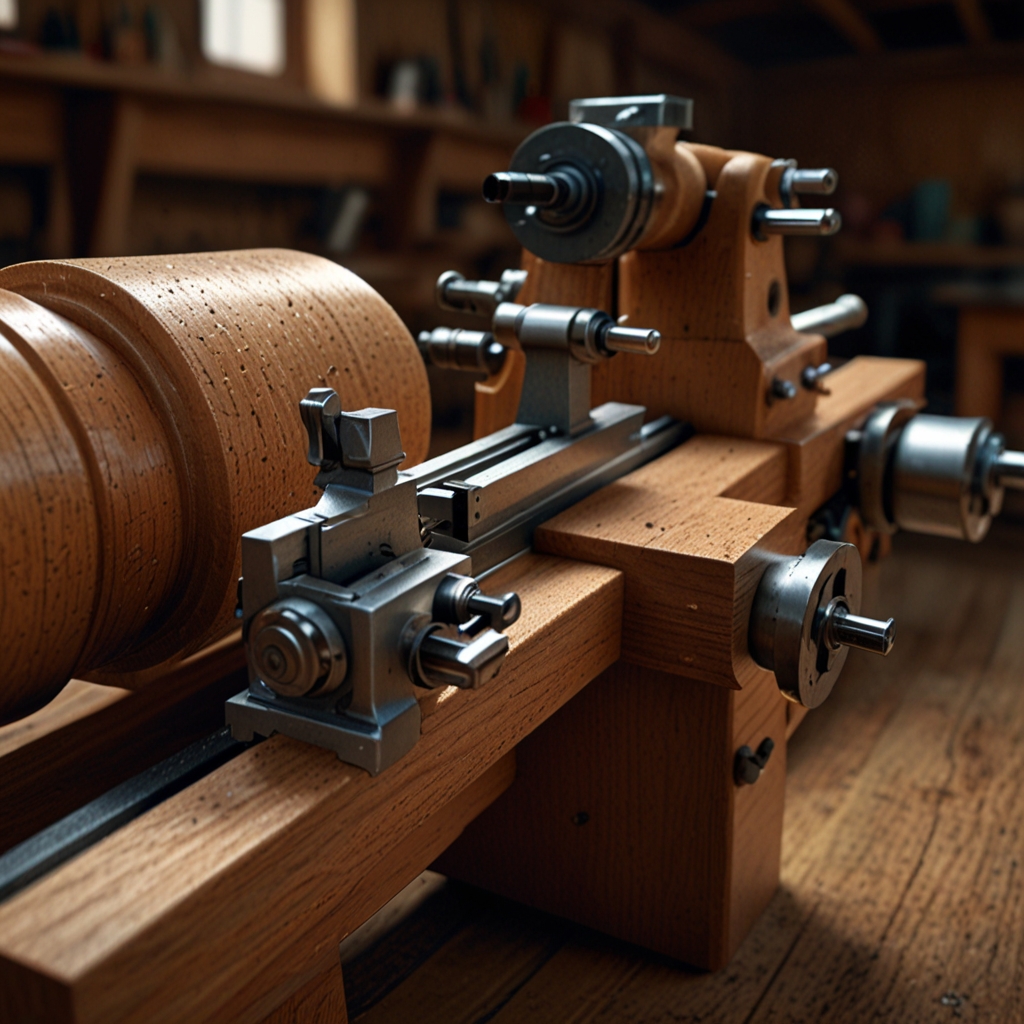
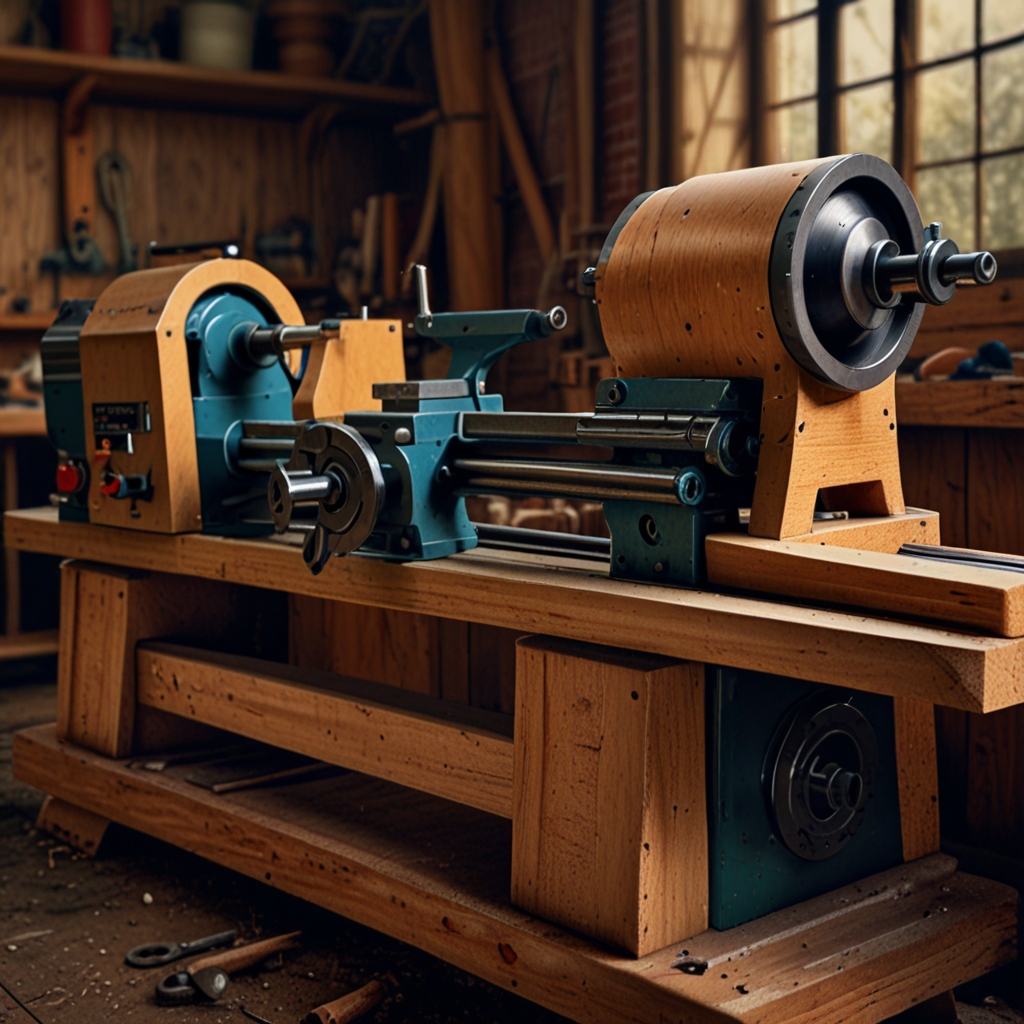
DIY Wood Lathe Essentials for Crafting Wooden Bowls
DIY wood lathe construction requires essential components like a motor, headstock, tailstock, and bed frame. The overall building cost can range from $200 to $500 depending on material quality and parts source. Modifying existing equipment, such as a drill press or old sewing machine, is possible but demands ingenuity and technical skills. Safety features like secure clamping systems, protective shields, and emergency stop buttons are crucial for safe lathe operation and reducing the risk of accidents.
How Long Does It Take to Build a DIY Wood Lathe?
The average time to build a DIY wood lathe is approximately 20 to 40 hours. Construction time varies widely with skill levels; experienced woodworkers may finish faster than beginners. To expedite the building process, pre-fabricated kits and detailed instruction guides from sources like Wood Lathe World offer practical shortcuts. Comparatively, buying a lathe from a store takes significantly less time than building one, often just a few hours for setup, highlighting the time difference between the two options.
- It’s a fun and creative activity.
- You can use trees from your backyard.
- Build your DIY skills.
- Wood lathes help you become a better woodworker.
- Makes a great handmade gift.
- Reduces waste by using scrap wood.
- Helps you relax and enjoy your time.
This table outlines key aspects and numerical comparisons of crafting wooden bowls using a DIY wood lathe, specifically focusing on materials, time, cost, and outcomes.
| Aspect | Maple | Oak | Walnut | Time (hrs) | Cost ($) |
|---|---|---|---|---|---|
| Material Cost | $20 | $25 | $30 | 10 | $50 |
| Tool Setup | $15 | $15 | $15 | 2 | $15 |
| Turn Time | 3 hrs | 4 hrs | 5 hrs | 4 | $40 |
| Finish Type | Gloss | Matte | Satin | 1 | $5 |
| Total Time | 16 hrs | 17 hrs | 18 hrs | 17 | $110 |
| Product Cost | $10 | $15 | $20 | 10 | $20 |
Techniques and Skills for Crafting Wooden Bowls
The basic techniques for turning a wooden bowl involve mounting the wood on the lathe and shaping it using chisels. To master advanced techniques, practice is essential along with studying detailed guides like those from Woodworking Masterclass. Avoid common mistakes such as improper tool handling and incorrect speed settings. Numerous online courses, like those offered by Udemy, cover bowl turning skills, from novice to expert.
What are the Most Common Mistakes in Bowl Turning?
The errors that occur most frequently among beginners include improper tool angles and inadequate lathe speed settings. To prevent chattering when turning bowls, ensure the tool rest is properly aligned and maintain consistent pressure. Wood splitting is often caused by uneven drying or internal stress in the wood, according to a 2021 study from the American Woodturner Association. Speed impacts the quality of the final product greatly; beginners should start at lower speeds and gradually increase as confidence and skill improve.
Finishing Techniques for Wooden Bowls
The best finishes for wooden bowls are typically food-safe oils like mineral oil or walnut oil. To achieve a smooth finish on a wooden bowl, sand the surface with progressively finer grits, finishing at around 400 grit. Eco-friendly finishes include products such as Odie’s Oil, which is biodegradable. Applying a food-safe finish involves cleaning the bowl, applying the oil evenly, letting it soak in, and then buffing it to a shine, as recommended by Fine Woodworking magazine.
What is the Best Finish for Food-Safe Wooden Bowls?
Specific finishes that are food-safe include mineral oil, beeswax, and shellac. The steps to apply a food-safe finish involve cleaning the bowl thoroughly, applying a generous amount of oil or wax, allowing it to penetrate the wood, and then buffing it smooth. Food-safe finishes can extend the bowl’s longevity by protecting it from moisture and wear. Trusted brands for food-safe finishes include Howard’s Feed-N-Wax and Walrus Oil, which provide high-quality, safe finishes for wooden bowls.
- Average bowl size is 10 inches in diameter.
- Wood should be seasoned for at least 6 months.
- DIY wood lathe costs around $200.
- Most bowls take 2-3 hours to complete with wood lathe.
- Get a speed of 500-3,000 RPM for best results.
- Use chisels with a length of 4-8 inches.
- Sanding requires at least 3 different grit levels.
Case Study: Crafting Wooden Bowls with a DIY Wood Lathe
Crafting a bowl with a DIY lathe presents challenges like uneven cuts and maintaining consistent speed, which I’ve experienced firsthand. Real-life case studies offer practical solutions, enhancing our understanding of bowl crafting techniques. A DIY lathe can indeed match professional results with the right modifications and skills, based on various documented successes. Learning through case studies benefits enthusiasts by providing tried-and-true methods and avoiding common pitfalls.
Can a DIY Wood Lathe Match Professional Wood Lathes?
DIY lathes can match professional models in quality with some effort. The most basic DIY lathe kits, like those available from Harbor Freight, cost around $100, significantly less than professional models. DIY wood lathes, with proper maintenance, can have a long lifespan similar to that of professional lathes, lasting up to a decade. Adding features such as a variable speed control and sturdier tool rests can make a DIY lathe more like a professional-grade lathe.