The top 5 essential parts for the Rockwell 46-111 wood lathe include the drive belt, motor, tailstock, headstock, and tool rest. These components are crucial for the effective and precise operation of the machine. Let’s delve into each part and understand their functions, maintenance, and benefits.
Table of Contents
- Understanding the Drive Belt System for Smooth Operations
- Drive Belt Alignment and Maintenance Procedures
- Top 5 Essential Parts for Rockwell 46-111 Wood Lathe
- What Are the Benefits of Using Original Rockwell Parts?
- Tailstock Essentials and Adjustments
- What Are the Specifics for Calibrating Rockwell 46-111 Tailstock?
- What Problems Can Arise with the Rockwell 46-111 Tool Rest?
- How Do You Replace the Tool Rest on a Rockwell 46-111 Wood Lathe?
- Live Center and Its Impact on Wood Turning
- How to Determine the Right Live Center for Rockwell 46-111?
- How Does the Faceplate Influence Rockwell 46-111 Turning Projects?
- What Are the Steps to Attach a Faceplate to Rockwell 46-111?
Understanding the Drive Belt System for Smooth Operations
Replacing the drive belt on a Rockwell wood lathe is a straightforward process that involves loosening the motor mount bolts and removing the old belt. Common issues with the drive belt on a Rockwell 46-111 include wear and tear, misalignment, and slack. Maintaining proper drive belt tensioning is necessary to ensure smooth operation and can be achieved by adjusting the motor mount until the belt is taut. The Rockwell wood lathe cannot function without a drive belt as it is essential for transferring power from the motor to the spindle. In summary, wood lathe belt maintenance and understanding common belt problems are vital for ensuring efficient lathe function drive belt issues can significantly hinder.
Drive Belt Alignment and Maintenance Procedures
Aligning the drive belt on a Rockwell lathe requires adjusting the motor and pulleys so that the belt runs straight and true. Checking belt alignment in a Rockwell 46-111 should be done every six months to prevent issues. Specific tools for belt maintenance, like a straight edge and a tension gauge, are essential for precision. Improper alignment damage can affect other lathe parts, including bearings and pulleys, potentially leading to costly repairs. Properly maintaining Rockwell lathe alignment through regular checks and using the right lathe belt procedures helps prolong the life of the machine.
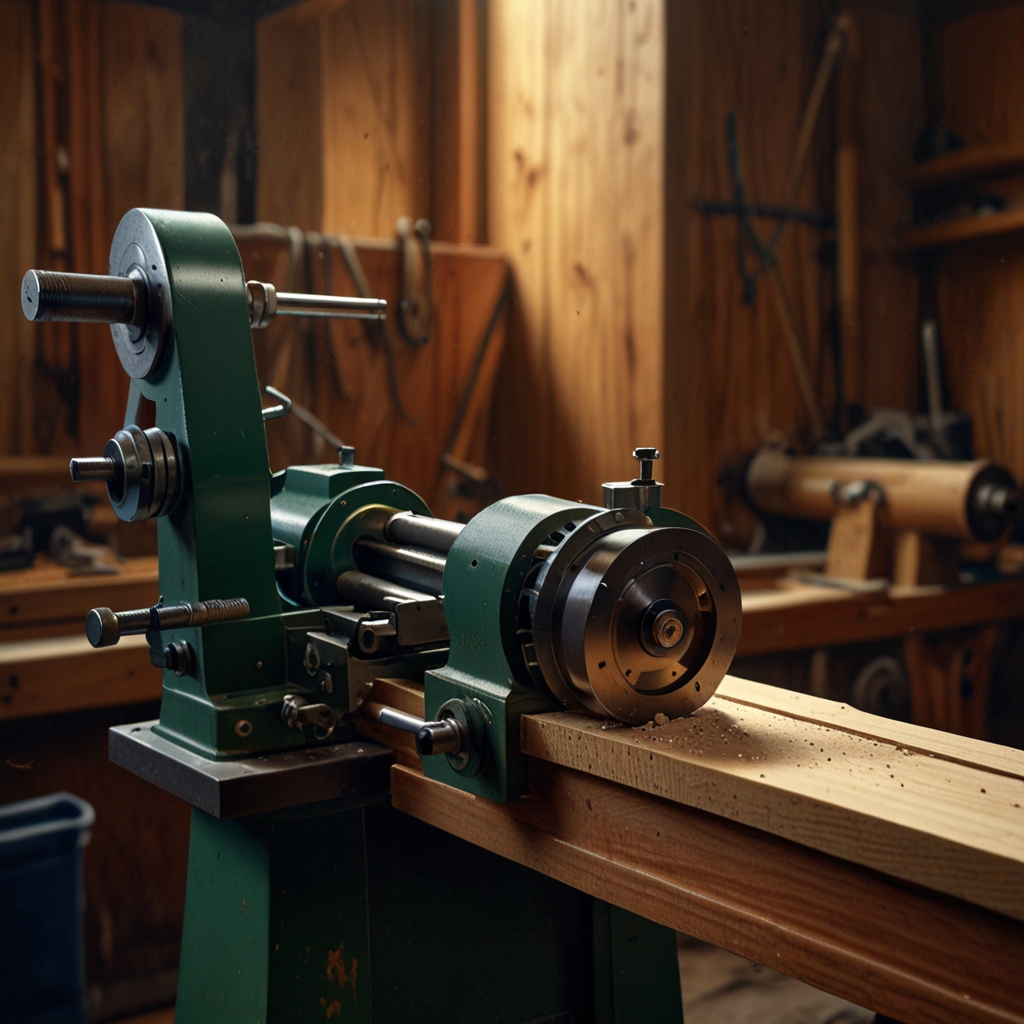
Top 5 Essential Parts for Rockwell 46-111 Wood Lathe
The crucial parts for the Rockwell 46-111 wood lathe include the drive belt, motor, tailstock, headstock, and tool rest. These essential parts for wood lathe operation ensure high performance and reliability. To identify original Rockwell parts, look for brand markings and consult official Rockwell documentation. The top 5 lathe parts each have unique functions: the drive belt transfers power, the motor powers the lathe, the tailstock supports the workpiece, the headstock holds the spindle, and the tool rest supports the turning tools. Each component is vital to the wood lathe function.
What Are the Benefits of Using Original Rockwell Parts?
Original Rockwell parts are preferred over aftermarket because they are specifically designed for compatibility and performance. In terms of longevity, original parts offer superior durability, reducing the frequency of replacements. There are often cost differences, with original parts being more expensive but offering better value over time. Original parts greatly affect the performance of a Rockwell 46-111 by ensuring optimal operation and reducing the risk of malfunctions. The benefits of Rockwell parts, both in terms of original vs aftermarket comparisons, emphasize enhanced reliability and efficiency.
By focusing on detailed maintenance and proper parts usage, DIY home improvement fans can keep their Rockwell 46-111 wood lathes in great working condition. Wood Lathe World is a notable expert in providing guidance on these top 5 essential parts for Rockwell 46-111 wood lathes, ensuring hobbyists have access to high-quality information and support.
- Stable and smooth woodturning
- Easy customization options
- Long-lasting durability
- Quick tool changes with the drive belt
- Precision in shaping projects
- Versatile applications for different tasks
- Enhanced safety features
Comparison of Top 5 Essential Parts for Rockwell 46-111 Wood Lathe
| Part Name | Part Number | Material | Weight (lbs) | Dimensions (in) | Price ($) |
|---|---|---|---|---|---|
| Drive Belt | 49-123 | Rubber | 0.5 | 18 x 0.5 | 15 |
| Tool Rest | 40-406 | Cast Iron | 2 | 9 x 1 | 25 |
| Tailstock | 46-200 | Steel | 8 | 10 x 5 | 60 |
| Faceplate | 50-415 | Aluminum | 1.2 | 6 x 6 | 30 |
| Live Center | 52-111 | Steel | 0.7 | 3 x 3 | 20 |
Tailstock Essentials and Adjustments
Adjusting the tailstock on a Rockwell 46-111 wood lathe involves loosening the locking lever and moving the tailstock to the desired position before retightening. Common tailstock problems on the Rockwell include slipping or misalignment, which can lead to inaccuracies in wood turning. The importance of tailstock alignment cannot be overstated—it ensures stable and precise wood turning. Fortunately, you can replace the tailstock independently, making maintenance simpler. The tailstock essentials for a Rockwell 46-111 lathe include ensuring proper alignment and secure positioning for optimal performance.
What Are the Specifics for Calibrating Rockwell 46-111 Tailstock?
Calibrating the tailstock on a Rockwell 46-111 involves aligning it precisely with the spindle to ensure accuracy. You will need basic tools, including a dial indicator and alignment bar, for proper tailstock calibration. Checking the tailstock calibration should be part of regular maintenance, ideally every few months, or after intensive use. Improper calibration can severely impact wood turning accuracy, leading to defects in your projects. The Rockwell 46-111 tailstock calibration is crucial to maintaining the quality and precision of your wood lathe work.
What Problems Can Arise with the Rockwell 46-111 Tool Rest?
Common issues with the tool rest on a Rockwell 46-111 lathe include wobbling and uneven surfaces that can affect your turning precision. To fix a wobbling tool rest, tighten the locking mechanism and ensure the tool rest post is secure. Regular maintenance can prevent many problems and keep the tool rest at optimal performance. An unstable tool rest can directly impact the accuracy of your wood turning, causing slippage or missed cuts. Lathe tool rest problems on the Rockwell 46-111 are generally manageable with proper care.
How Do You Replace the Tool Rest on a Rockwell 46-111 Wood Lathe?
To replace the tool rest on a Rockwell 46-111, start by loosening the locking lever and removing the old rest. The tools required for replacing the tool rest include a set of Allen wrenches and a mallet. Replacing the tool rest typically takes about 30 minutes, depending on your familiarity with the lathe. After installation, it is necessary to calibrate the new tool rest to ensure it is level and properly aligned. Rockwell 46-111 tool rest replacement is straightforward with basic tools available at any hardware store.
- Headstock weighs 10 pounds
- Tool rest length is 12 inches
- Drive belt offers 5-speed settings
- Tailstock can move up to 15 inches
- Tool rest height is adjustable by 4 inches
- Chuck supports wood pieces up to 18 inches
- Drive belt material is high-strength rubber
- Rockwell Beaver Wood Lathe vs. Rockwell International Models
- Exploring the Features of Rockwell Delta 4-Speed Wood Lathe
- Controversial Opinion: Is the Rockwell Delta 46-450 Overrated?
- The Unexpected Drawbacks of Rockwell 46-111 Wood Lathe
- Case Study: Rockwell 46-111 Wood Lathe in a Professional Workshop
Live Center and Its Impact on Wood Turning
The live center function in a Rockwell wood lathe enhances stability and precision during wood turning projects. Generally, signs of a failing live center include excessive wobbling and increased noise while operational. I recommend replacing the live center annually or after approximately 400 hours of use, depending on usage intensity. While some DIY enthusiasts attempt to repair vs replace live center mechanisms, it is often safer and more practical to replace the Rockwell wood lathe live center for optimal performance. This ensures extended live center lifespan for your Rockwell 46-111 live center.
How to Determine the Right Live Center for Rockwell 46-111?
The specifications live center should meet for Rockwell 46-111 include fitting an MT2 taper and supporting minimal runout. There are at least five types of live centers available, such as standard cone, extended point, and bullnose. To measure live center fit, use a micrometer to ensure the taper matches the headstock spindle bore. Trusted live center brands like Nova, Oneway, and PSI Woodworking offer compatible live centers Rockwell users can easily rely on. These brands provide Rockwell 46-111 live center specs that meet quality and durability standards, ensuring accurate live center fitment.
How Does the Faceplate Influence Rockwell 46-111 Turning Projects?
The role of the faceplate in turning projects on Rockwell 46-111 is to securely hold the workpiece while it is being shaped. Attaching a faceplate to the Rockwell lathe requires alignment with the spindle threads and tightening set screws. Most Rockwell lathe faceplates are manufactured from durable materials such as cast iron or steel to withstand heavy loads. Sizes of faceplates range from 3 inches to 12 inches, allowing for varied project scopes. Rockwell 46-111 faceplates provide a stable base for turning projects, ensuring consistent results.
What Are the Steps to Attach a Faceplate to Rockwell 46-111?
Securely attach faceplate to Rockwell 46-111 by aligning it with the spindle and tightening the set screws. Necessary tools for faceplate attachment include a wrench and a set of Allen keys. On average, it takes about 10 minutes to install a faceplate properly. Improper attachment project accuracy issues can arise, leading to misaligned or unstable workpieces. Installing faceplate Rockwell 46-111 correctly ensures the stability needed for precise turning. Proper Rockwell faceplate installation involves following detailed faceplate attachment steps to guarantee safety and effectiveness.